
Ideas for filling a sketchbook

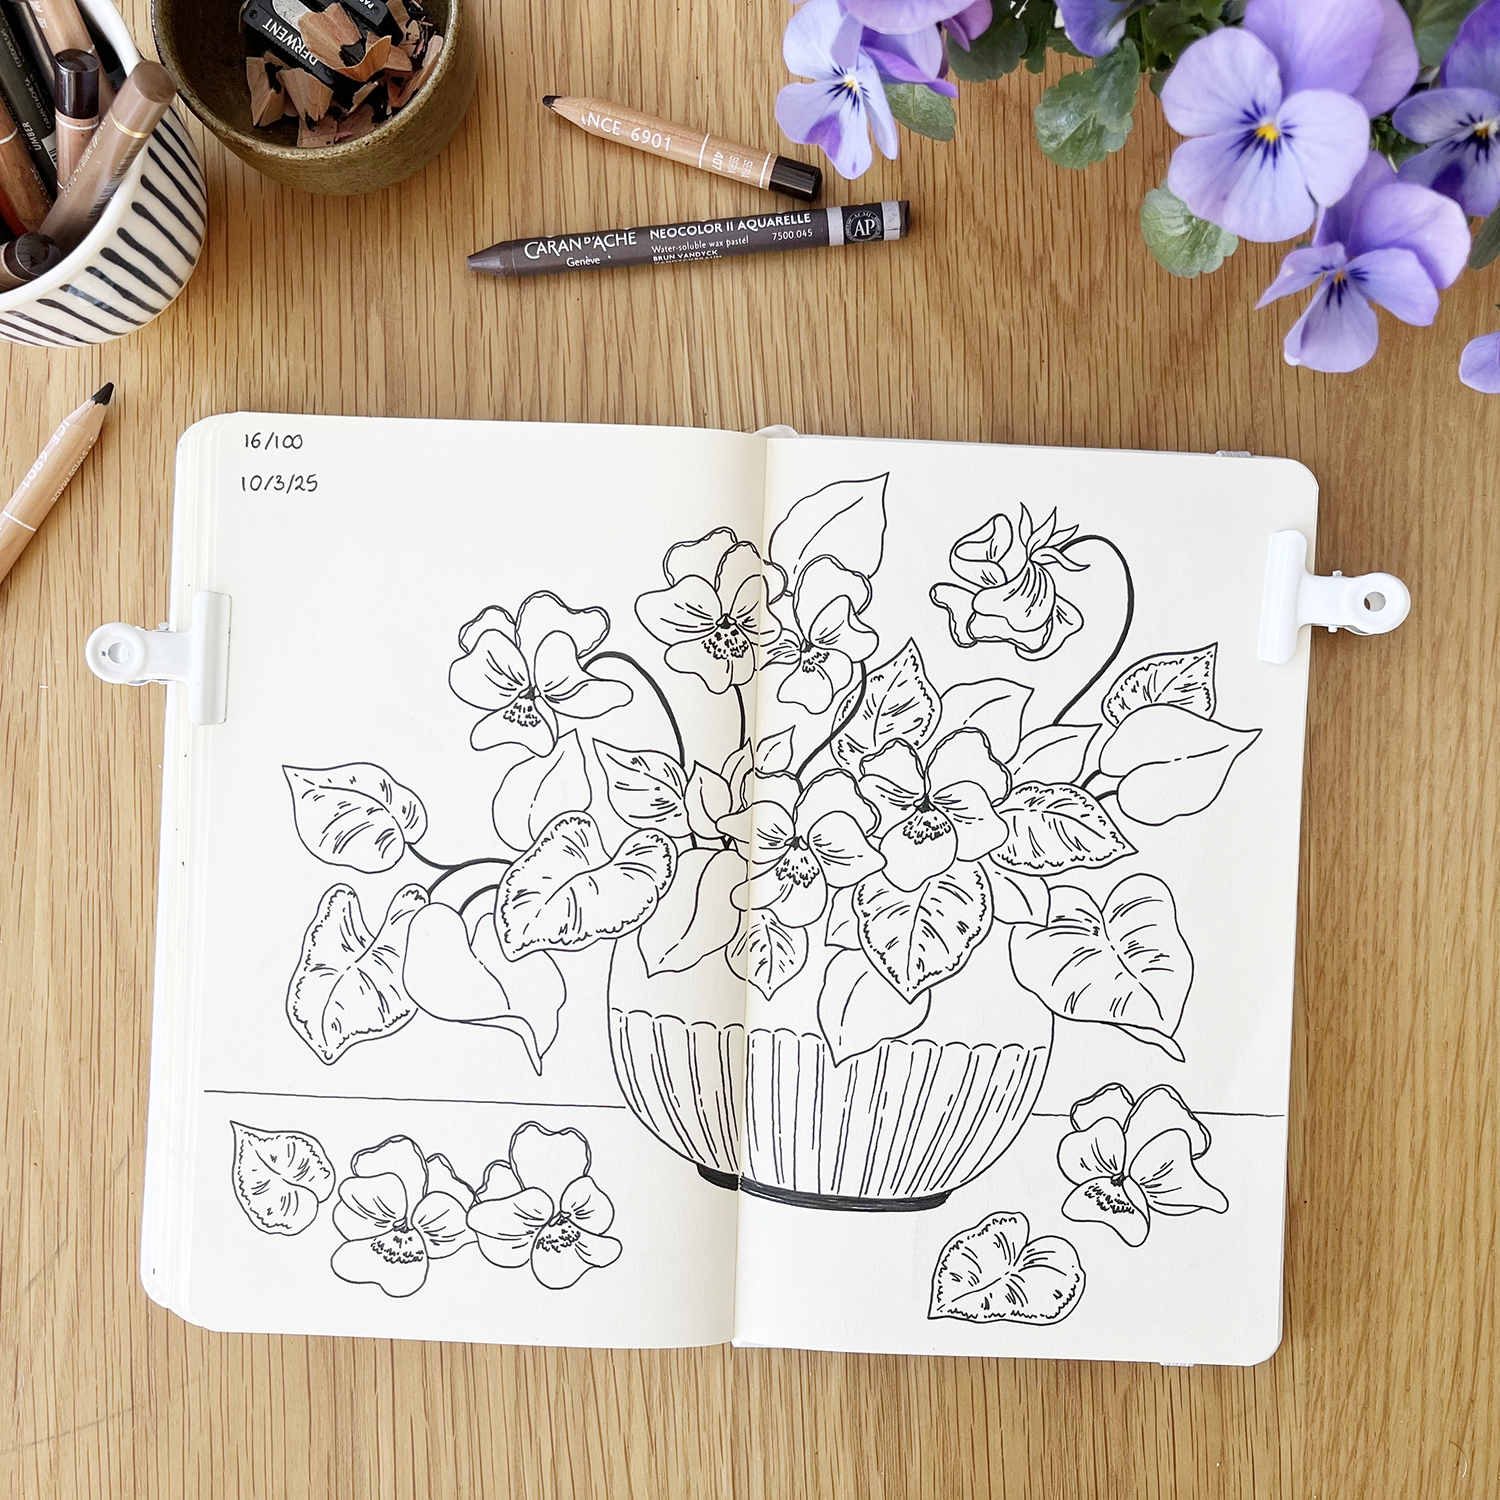
Earlier this year, I completed the 100 Day Project - drawing in my sketchbook every day for one hundred days. I’ve been drawing a lot more this year and filling up lots of sketchbooks, which has been really valuable for my art practice.
If you’re wanting to use sketchbooks more, or start a daily drawing habit, here’s a few of the prompts and starting points that I use. I’ve kept these quite broad, and avoided too many specific “draw this exact thing” type prompts, so you can apply them to whatever subject matter you enjoy working with.
Draw with a timer
An easy way to get lots of drawings done quickly, set timers between 30 seconds and 5 minutes and draw an object or scene from observation.
Contour drawings
Focus on the outer lines of an object, as though you were drawing it’s silhouette (these ones can be really quick, so you can fill pages up really quickly whilst learning a lot about the shape of the objects)
Draw without looking at the paper
Focus on the object you’re drawing, and don’t look at your hand or the paper. This will help you learn to really look at the object that you’re drawing, rather than drawing what you think you see.
Continuous line
Don’t lift your drawing tool off of the paper, draw everything with one continuous line. I love this one and it always produces some really interesting lines.
Draw from memory
Look at an object or scene for 1-2 minutes, then remove it from view and try drawing it from memory.
Draw with your eyes closed
You can either draw from your imagination, or look at an object before closing your eyes and then draw it from memory.
Draw the same thing 5 times
Switch up the size or material each time, but study the same object or scene for 5 drawings in a row. Take note of the similarities and differences, and which bits you do and don’t like in each one.
Draw with your non-dominant hand
Note how different your marks are (mine are always lighter, and curves are more angular when I draw with my left hand).
Draw with both hands
Hold a material in each hand and draw with both at the same time. You can draw the same thing with both hands so you get 2 offset drawings, or you can draw half of the object with one hand and half with the other.
Use a new (to you) material
Pick a subject matter you’re comfortable drawing, but try using a material you wouldn’t usually reach for.
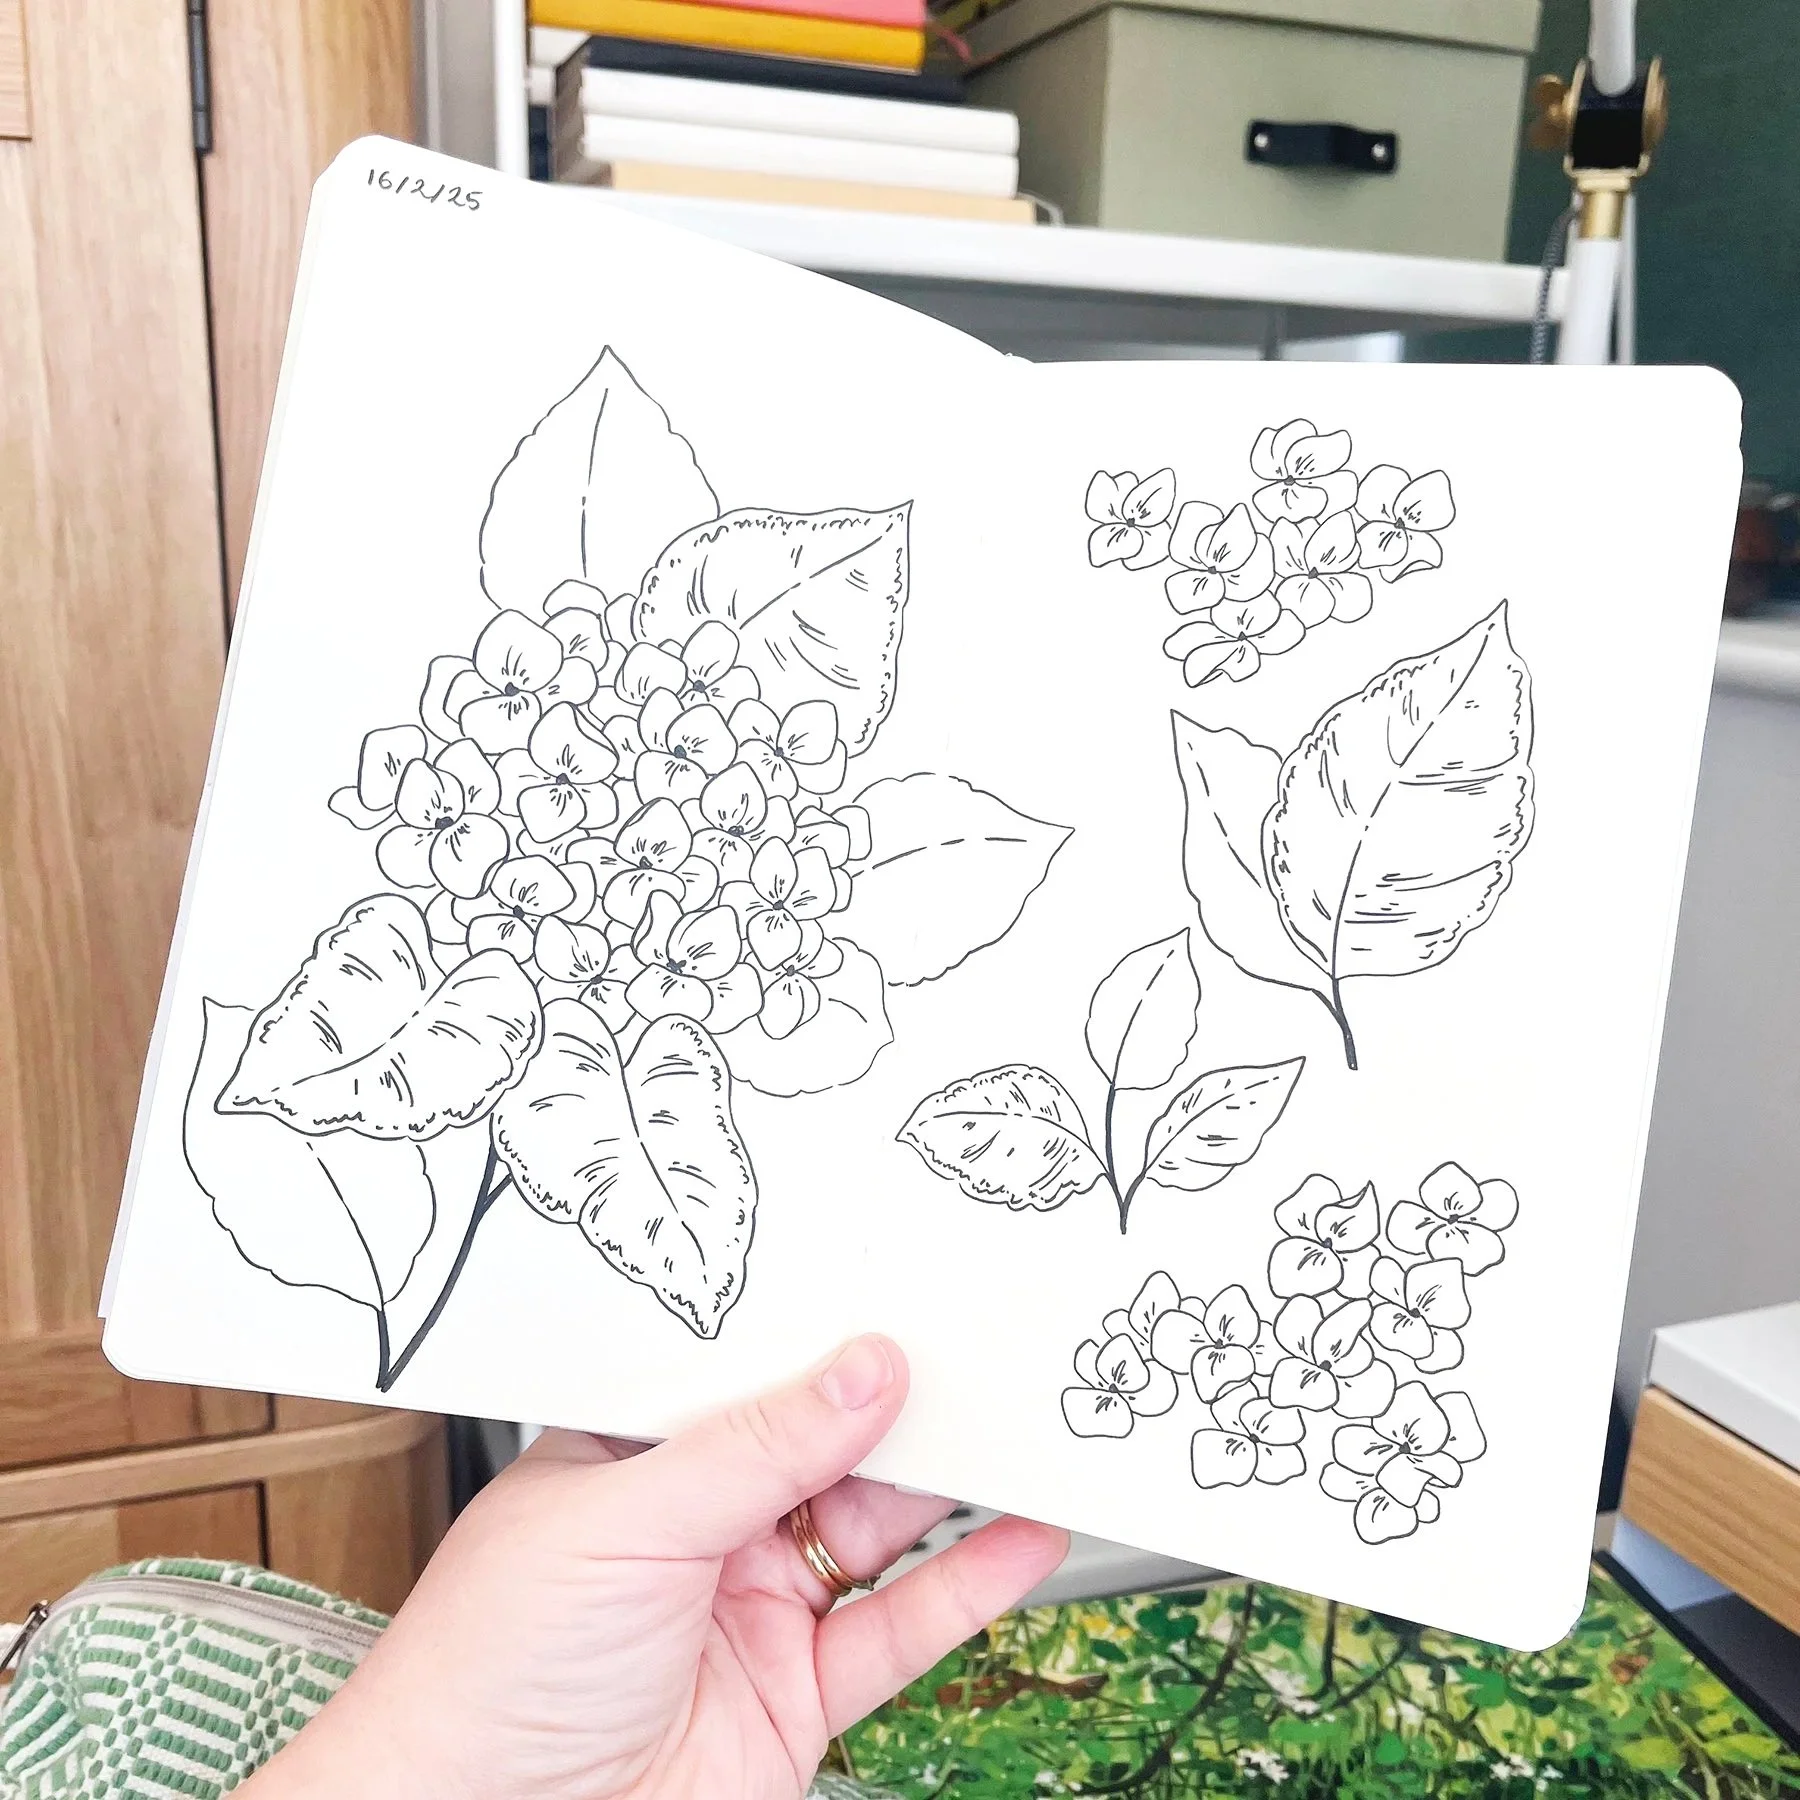
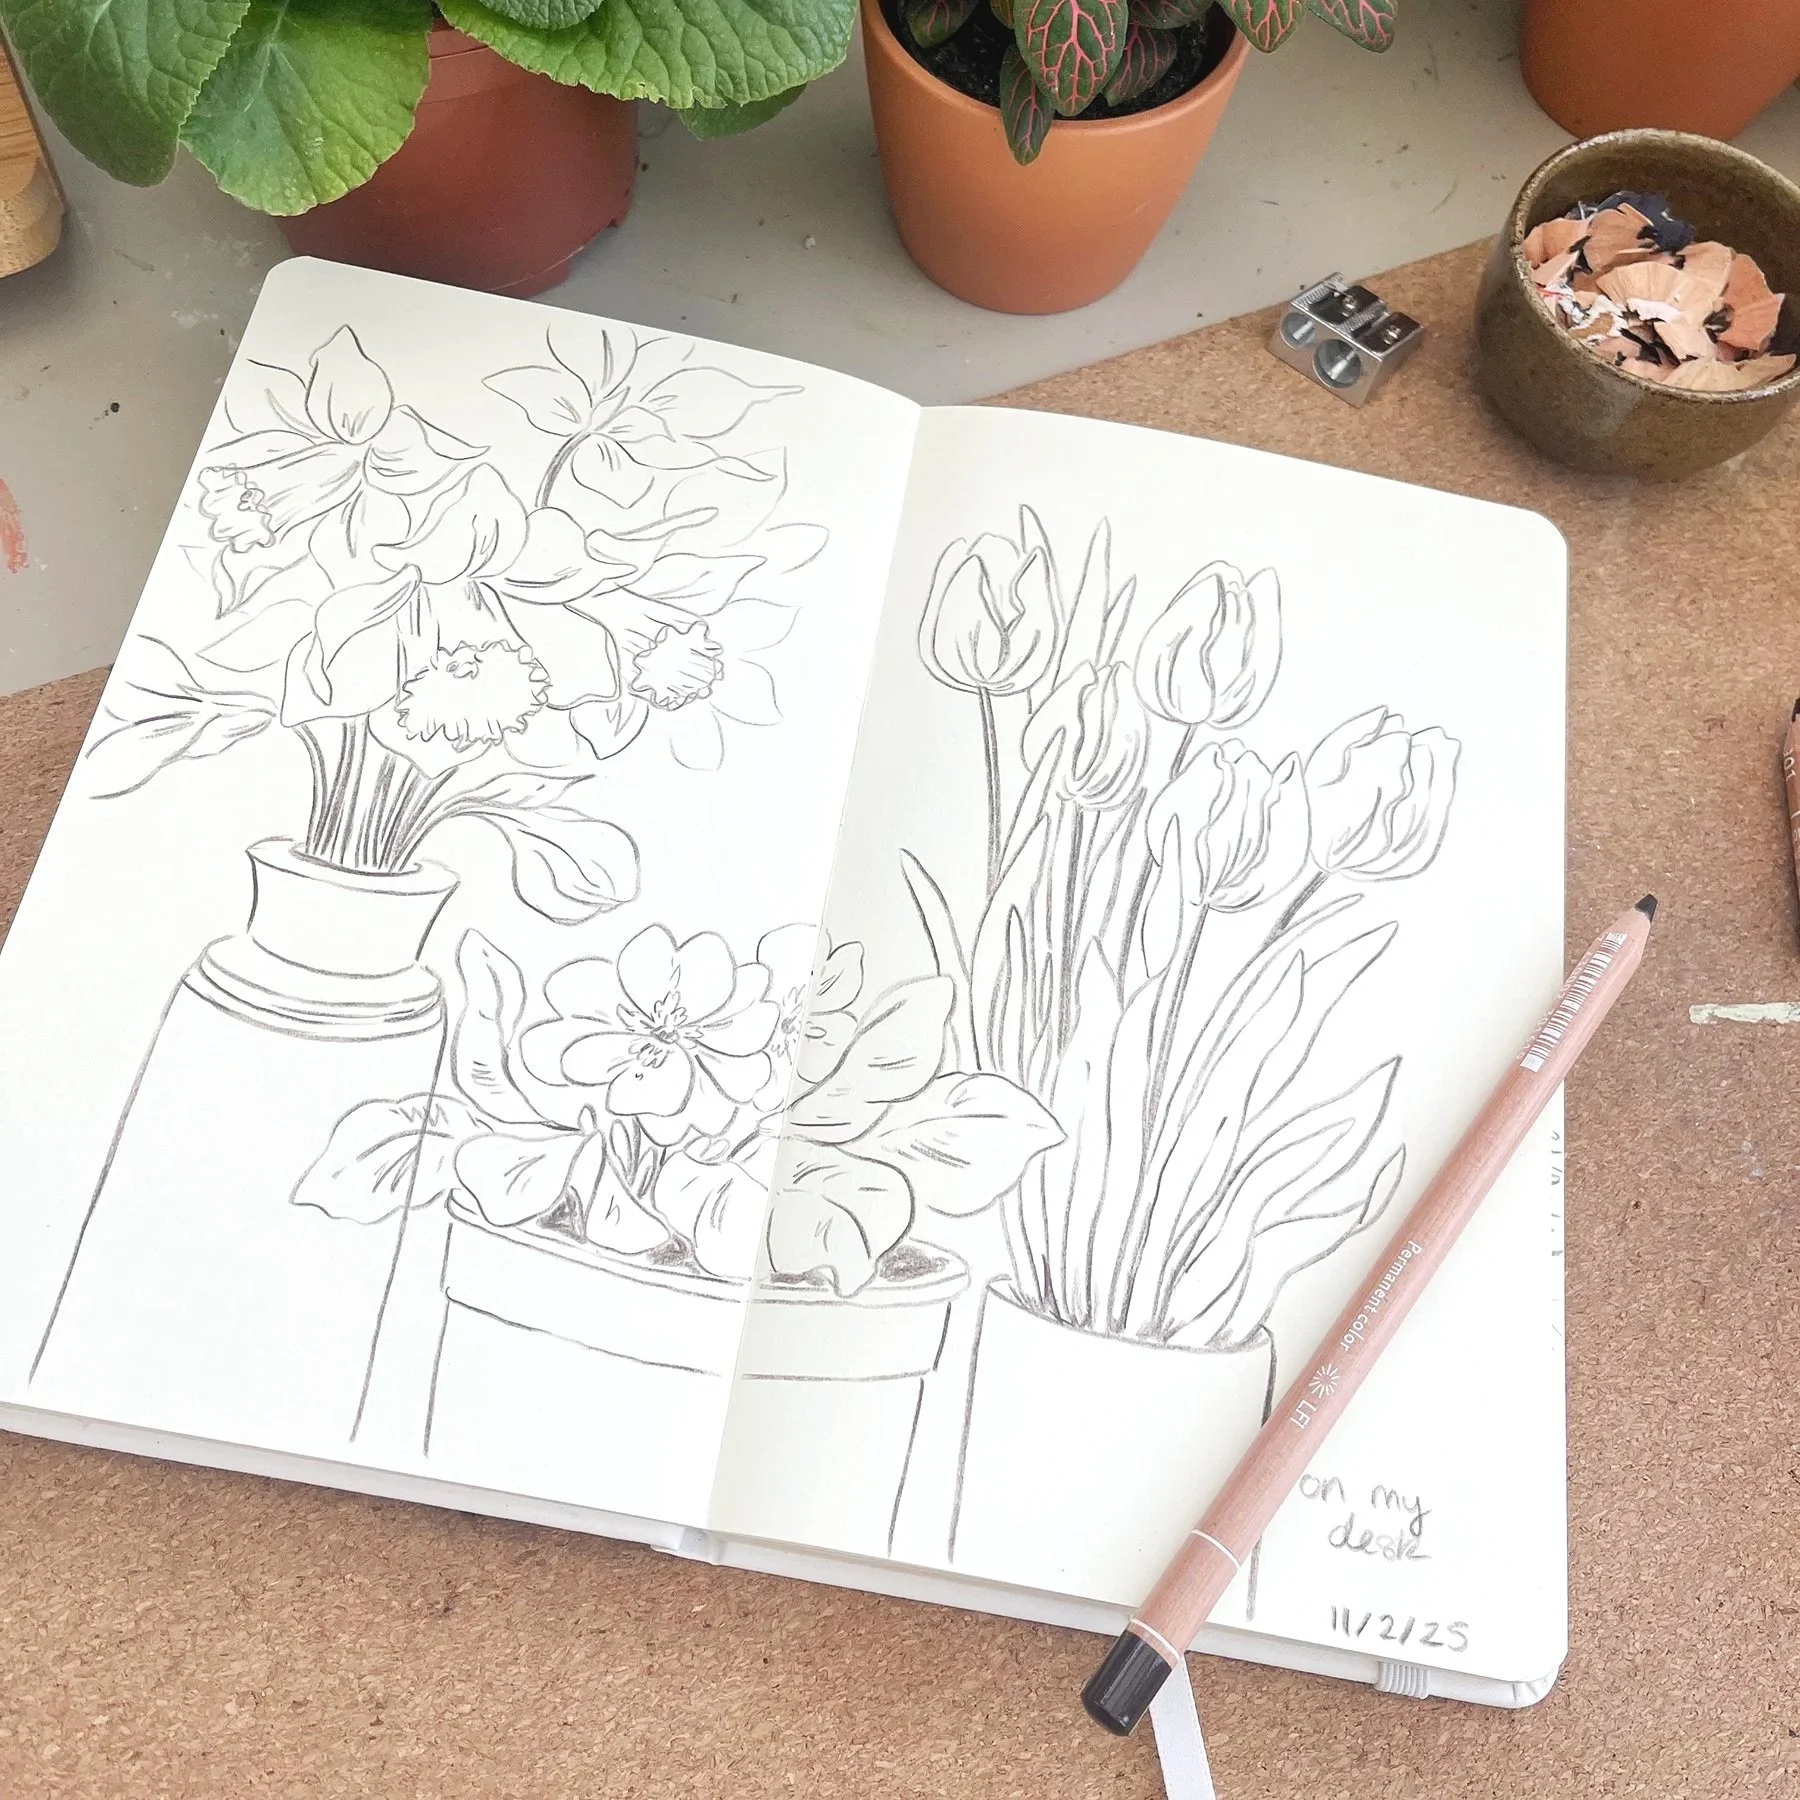
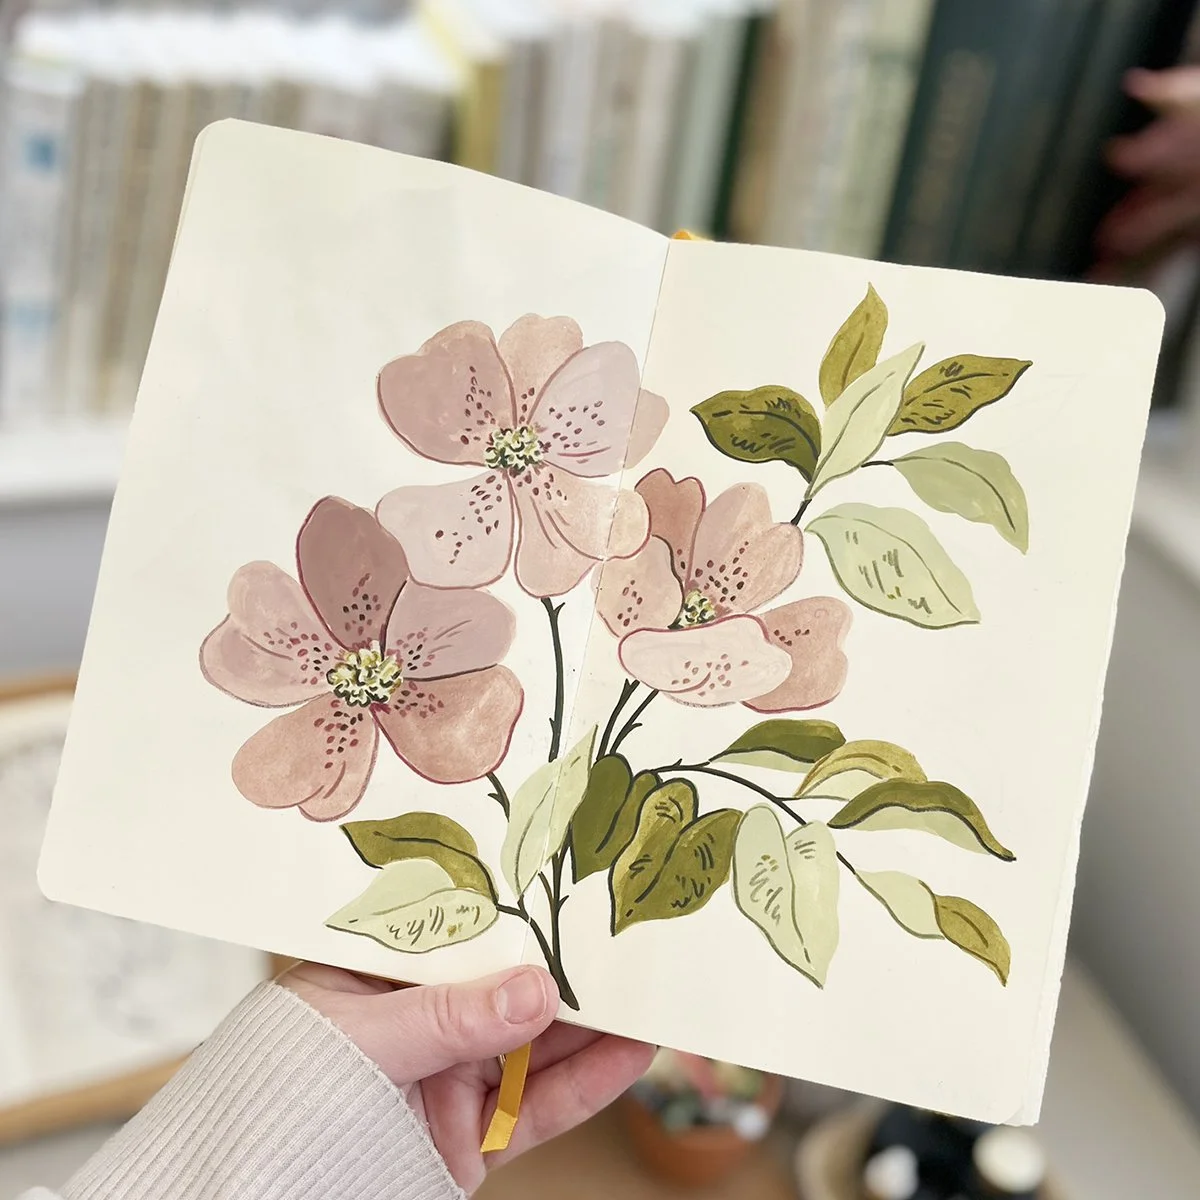
Set up your own “still life”
Gather materials from your home or garden that you’d enjoy drawing, arrange them on your desk and draw from different angles. You could use plant, fruits and vegetables, ornaments etc.
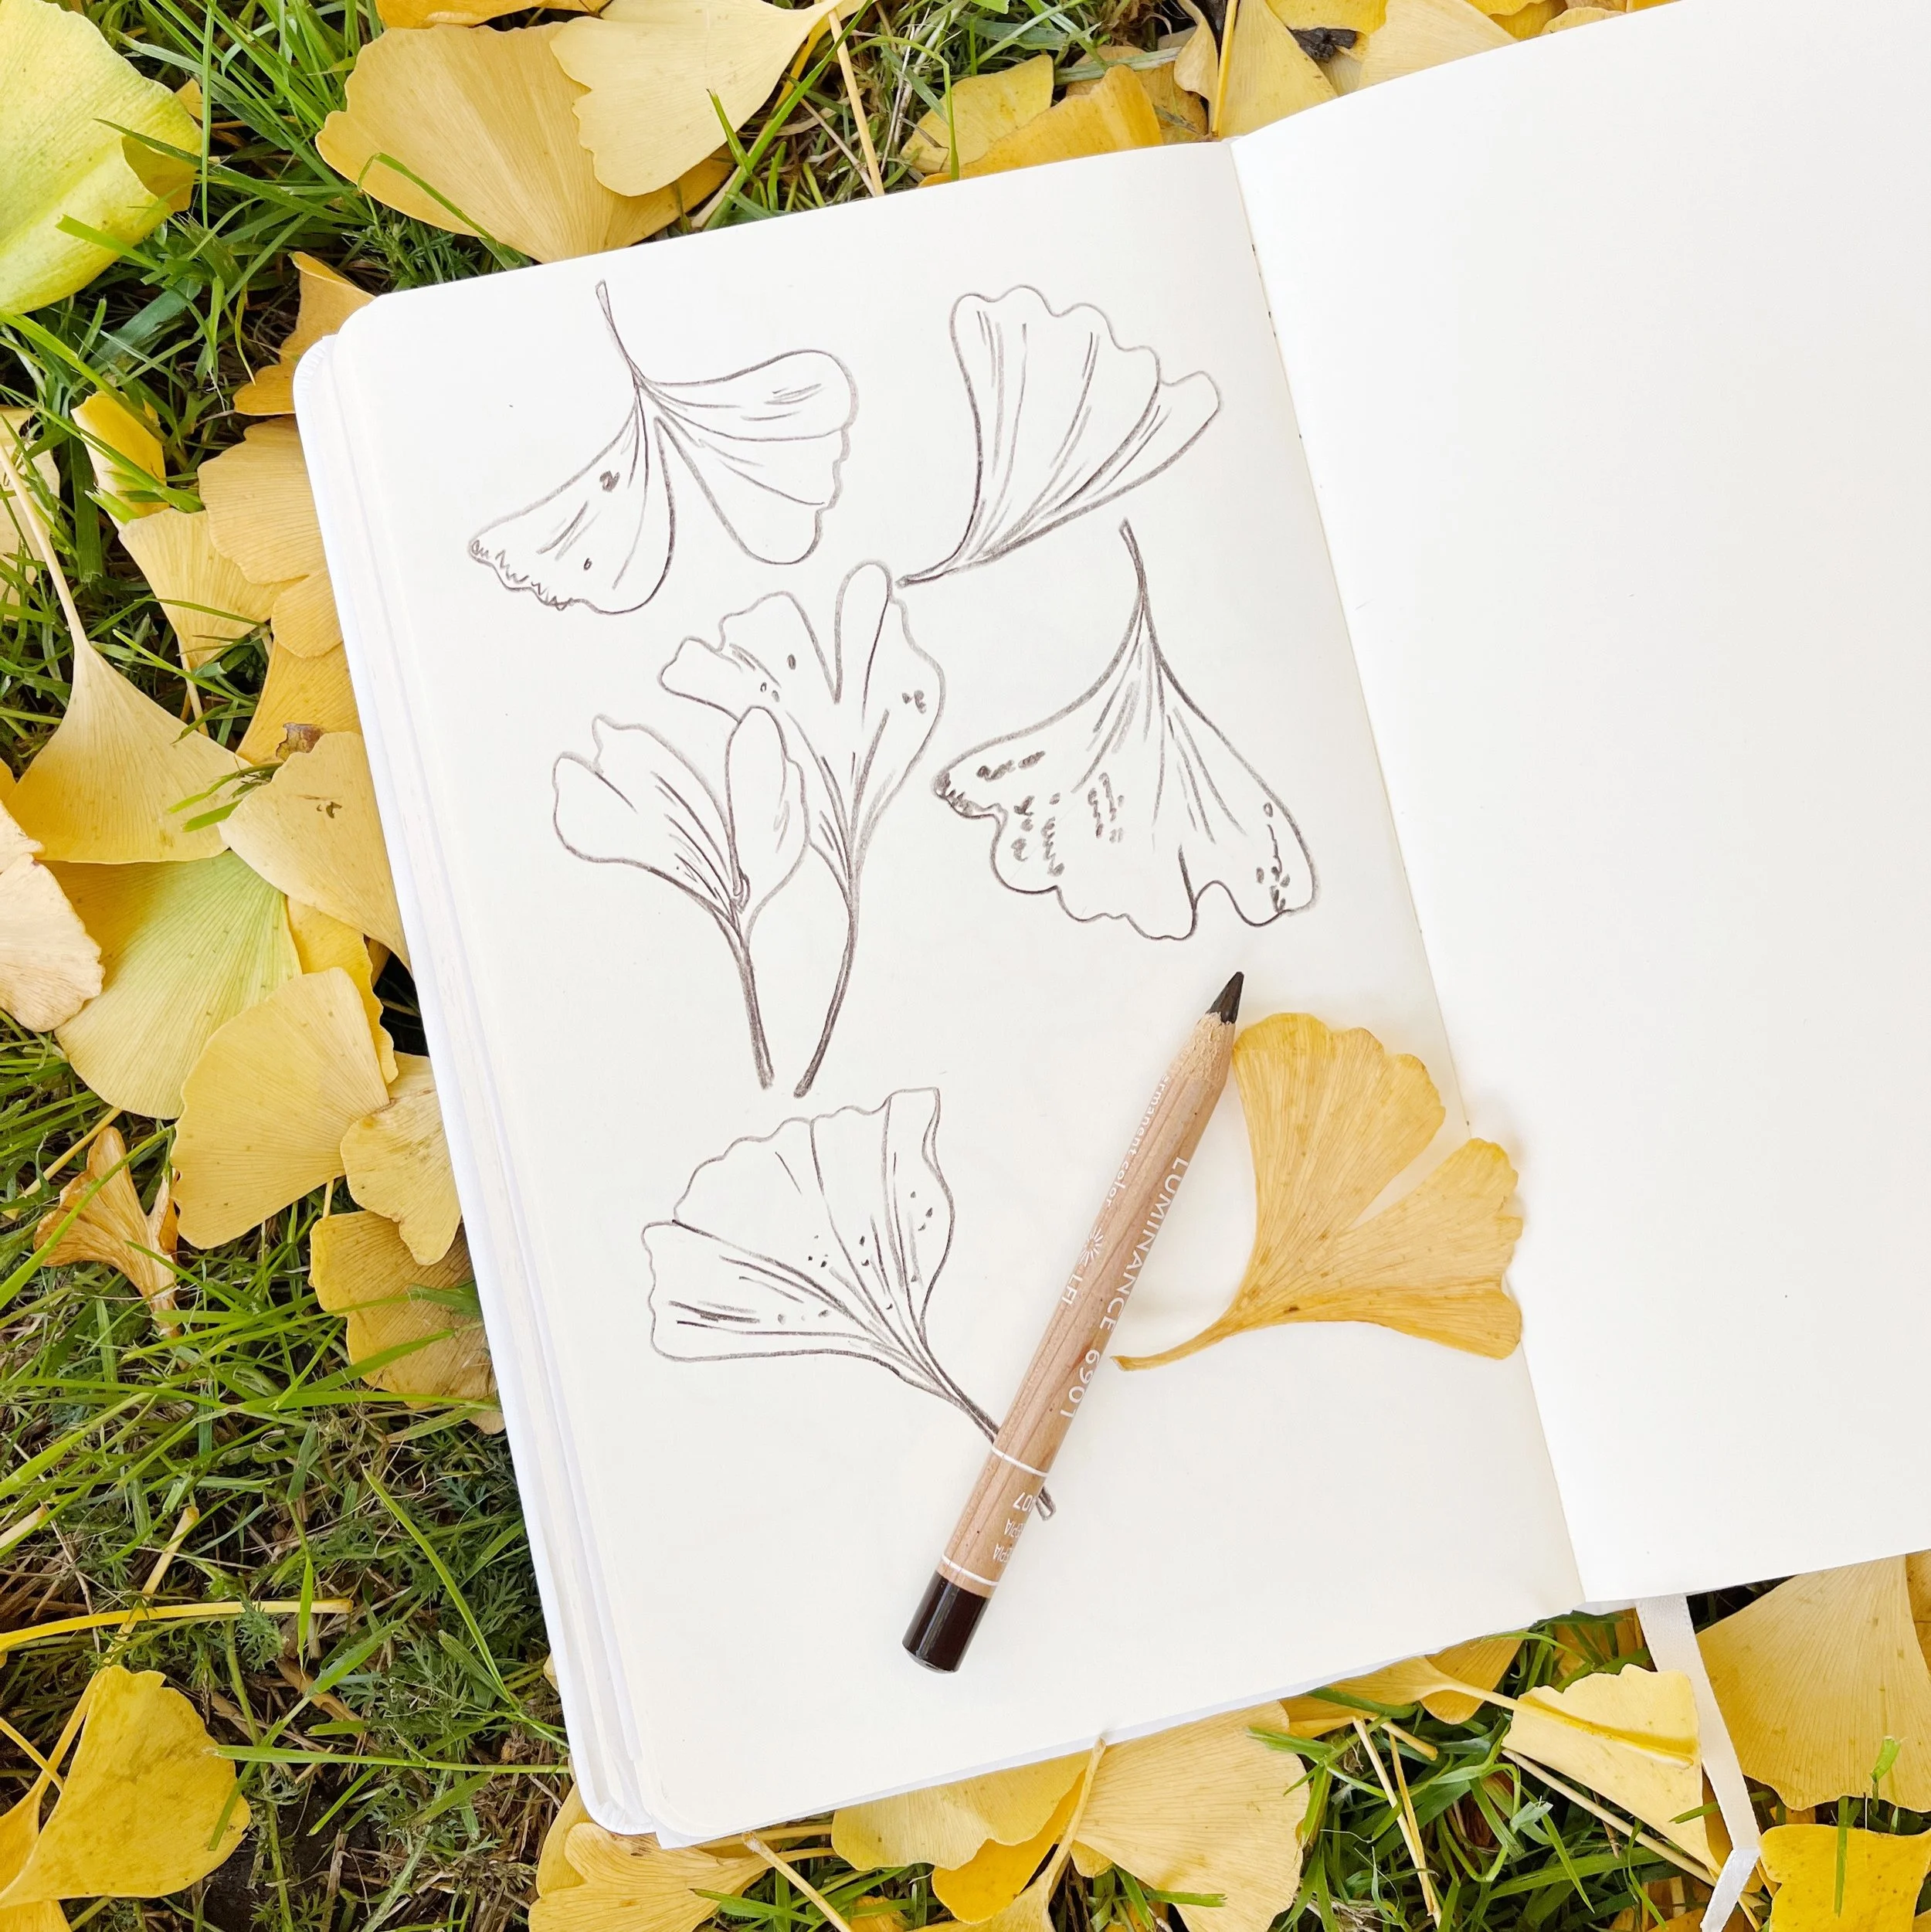
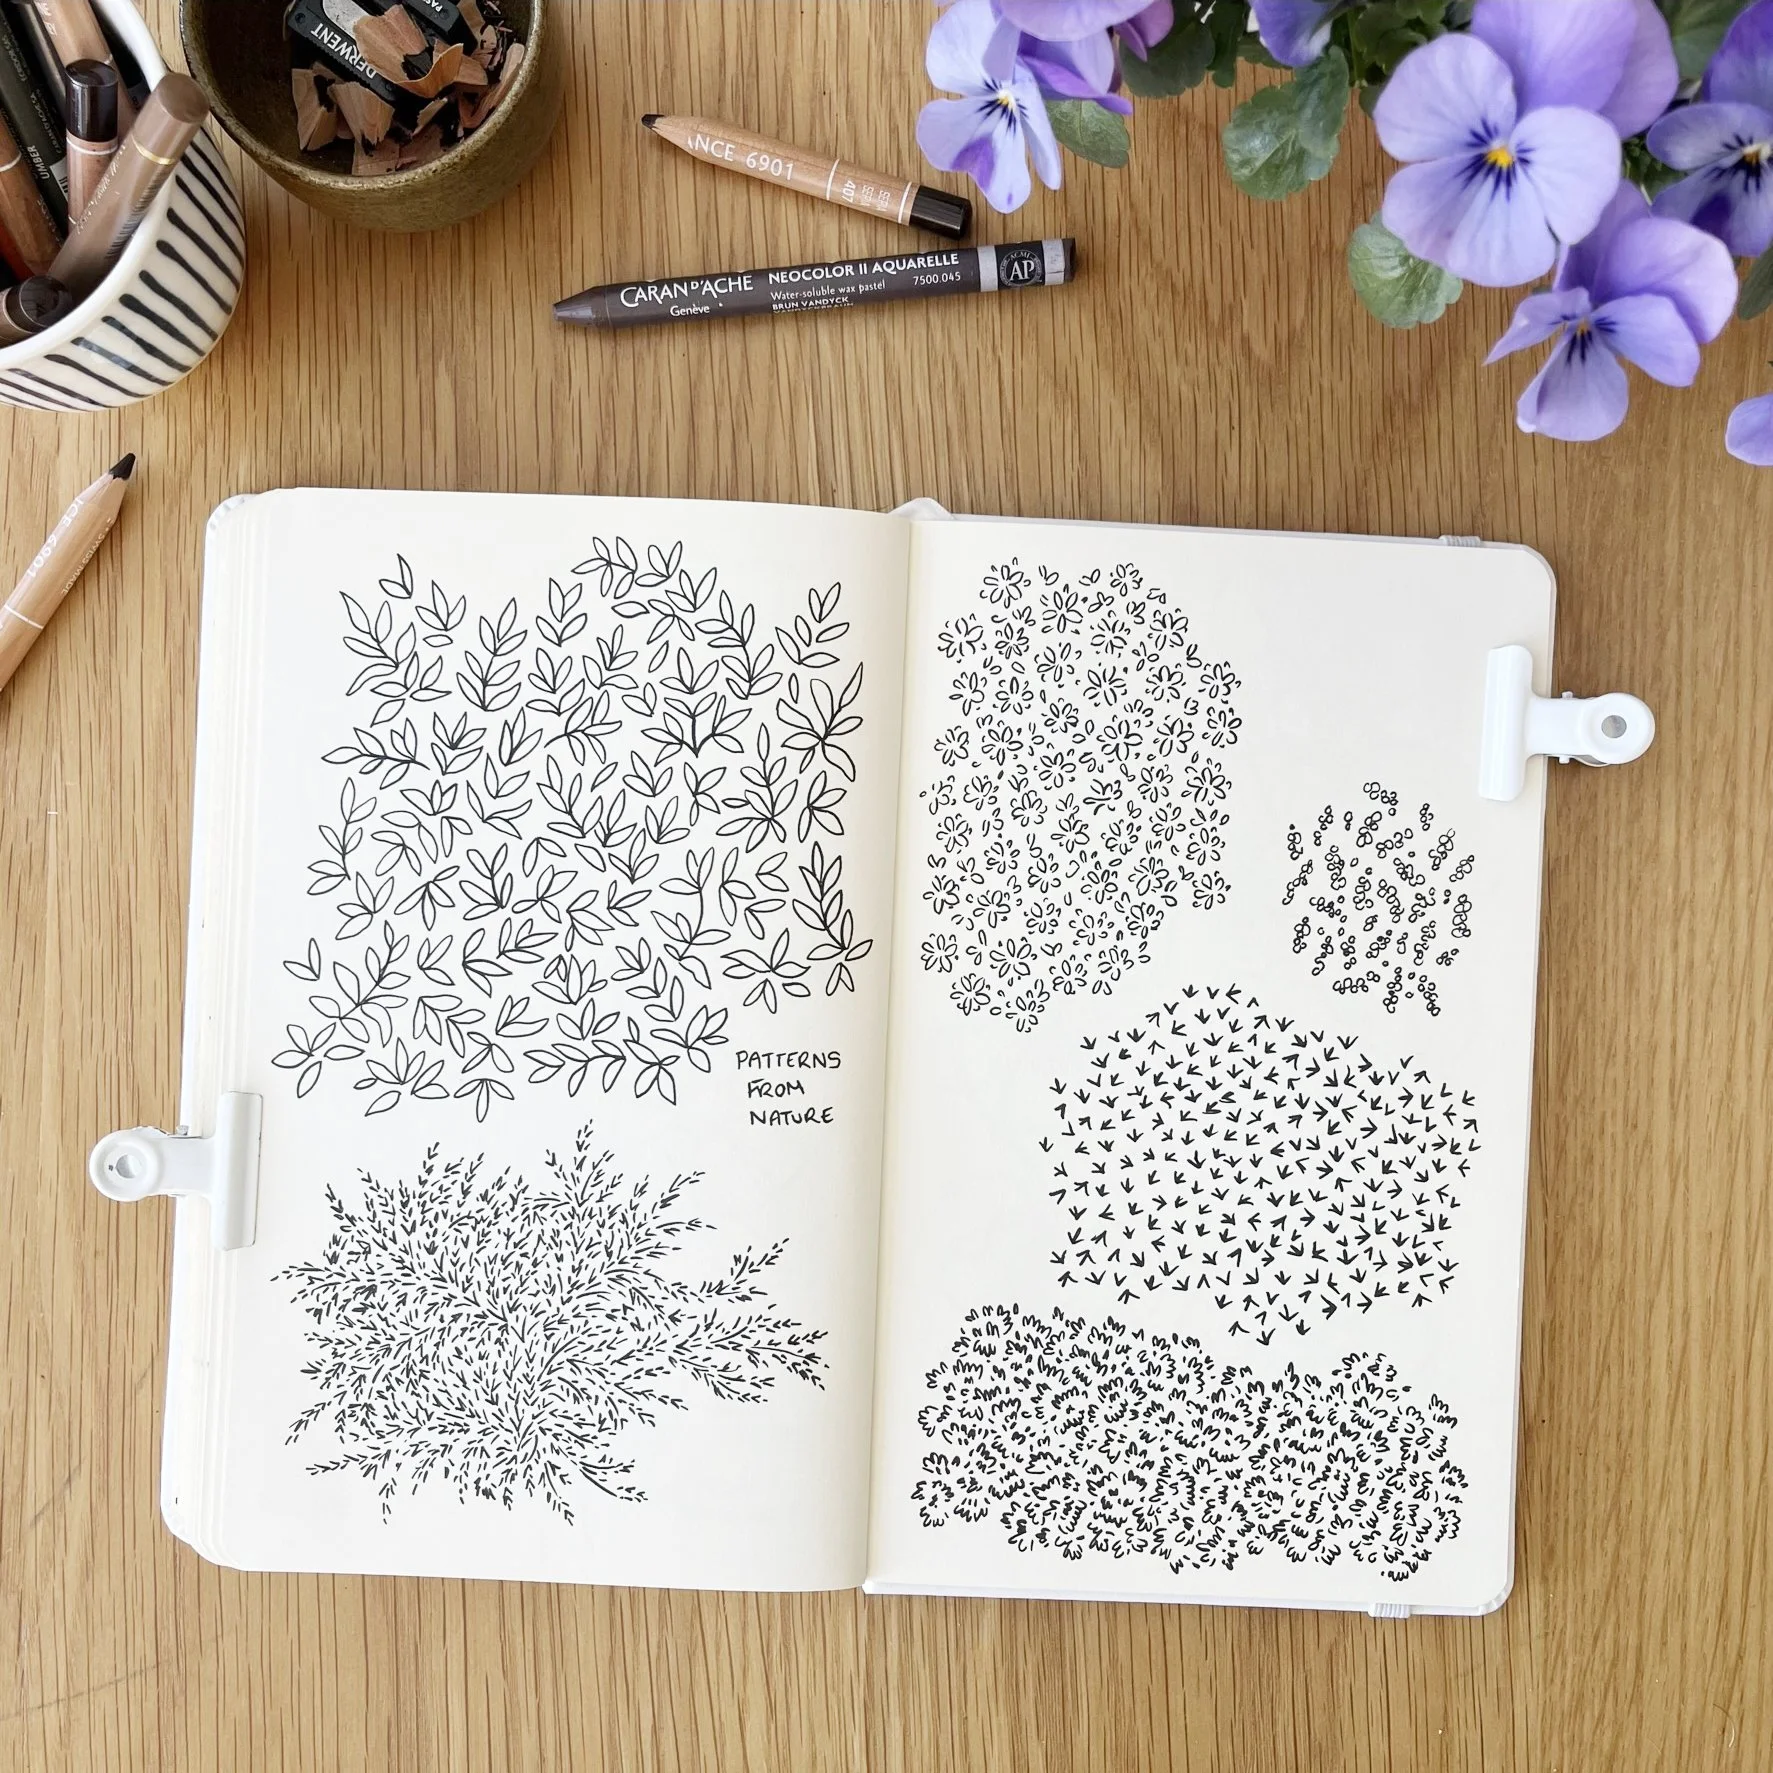
Focus on the details
Look at an object or scene, and instead of drawing the whole thing, “zoom in” and pick out the details, patterns and textures that interest you most.
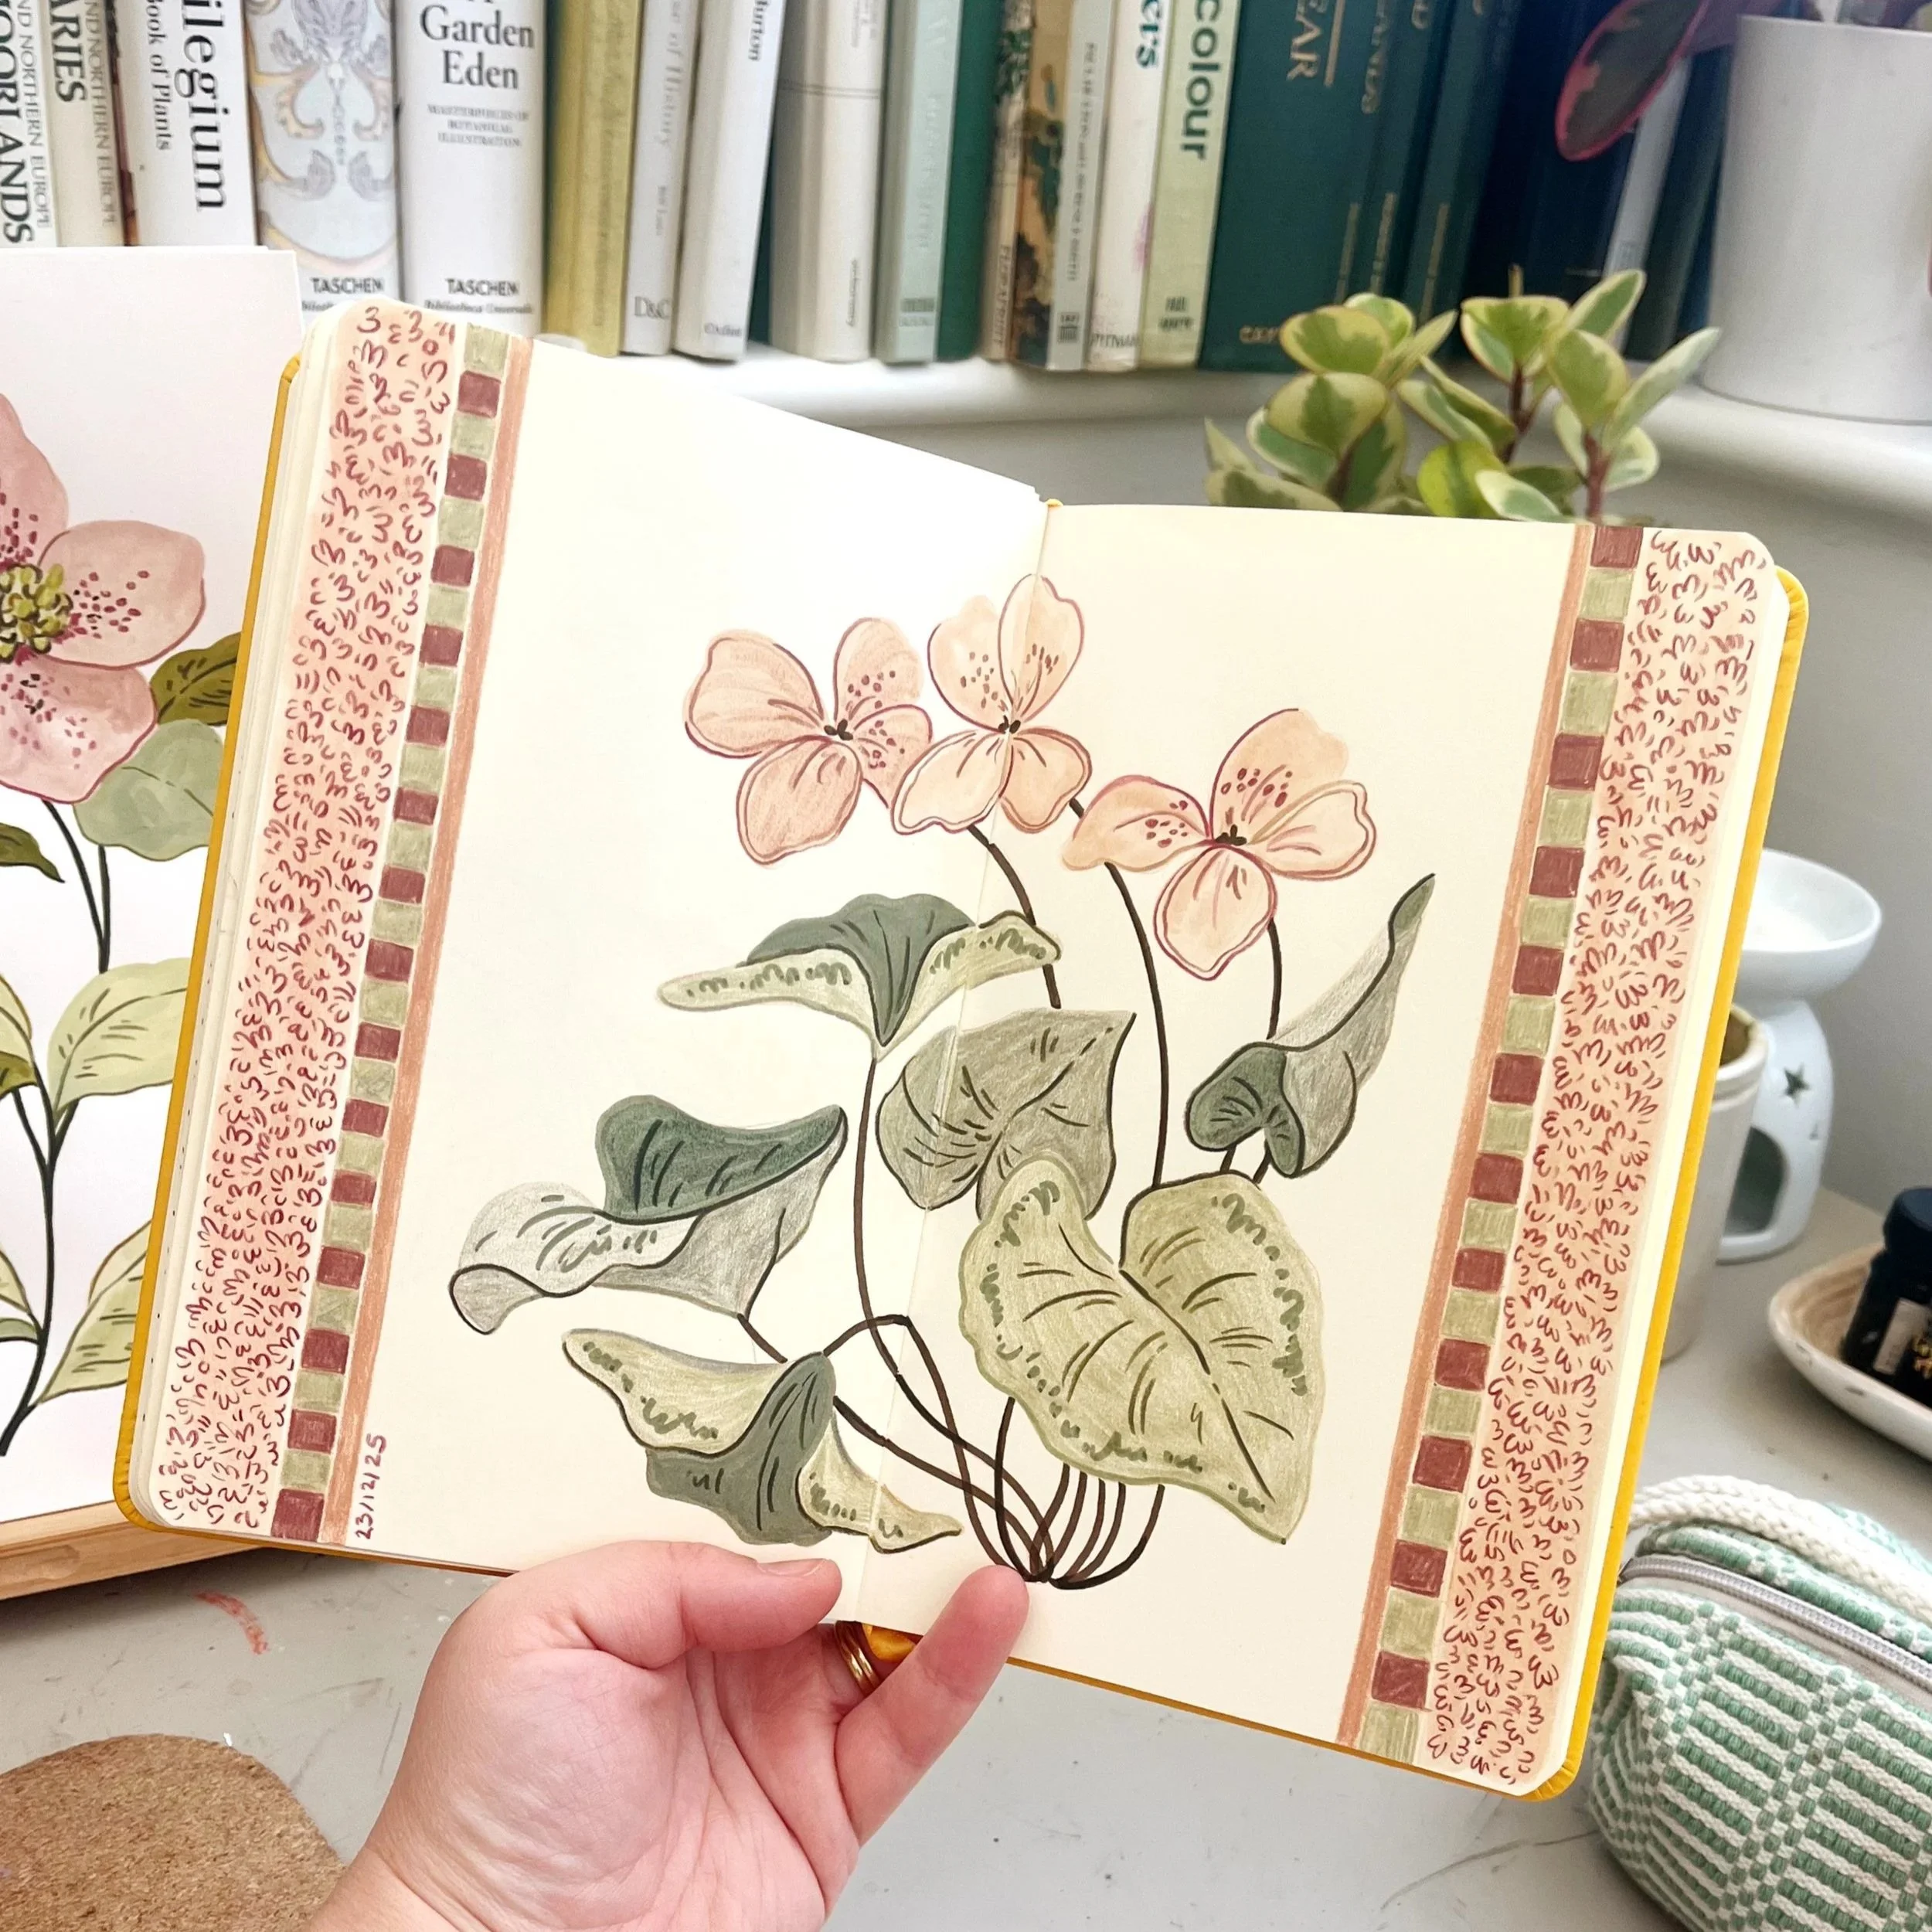
Combine imagination + observation
Draw an object or scene from life, but add in some details from imagination. For example, I might draw a vase of flowers in front of me, but add a pattern to the vase from imagination (there’s more about this here).
Use your own camera roll
Images from holidays, days out or local walks make great drawing references if you don’t have the opportunity to draw from life.
Create thumbnails
Draw some rectangles or squares on the page and fill them with quick sketches/layouts for other drawings. I like to draw one thumbnail initially, and then draw it again and again but tweaking something each time to create new ideas.
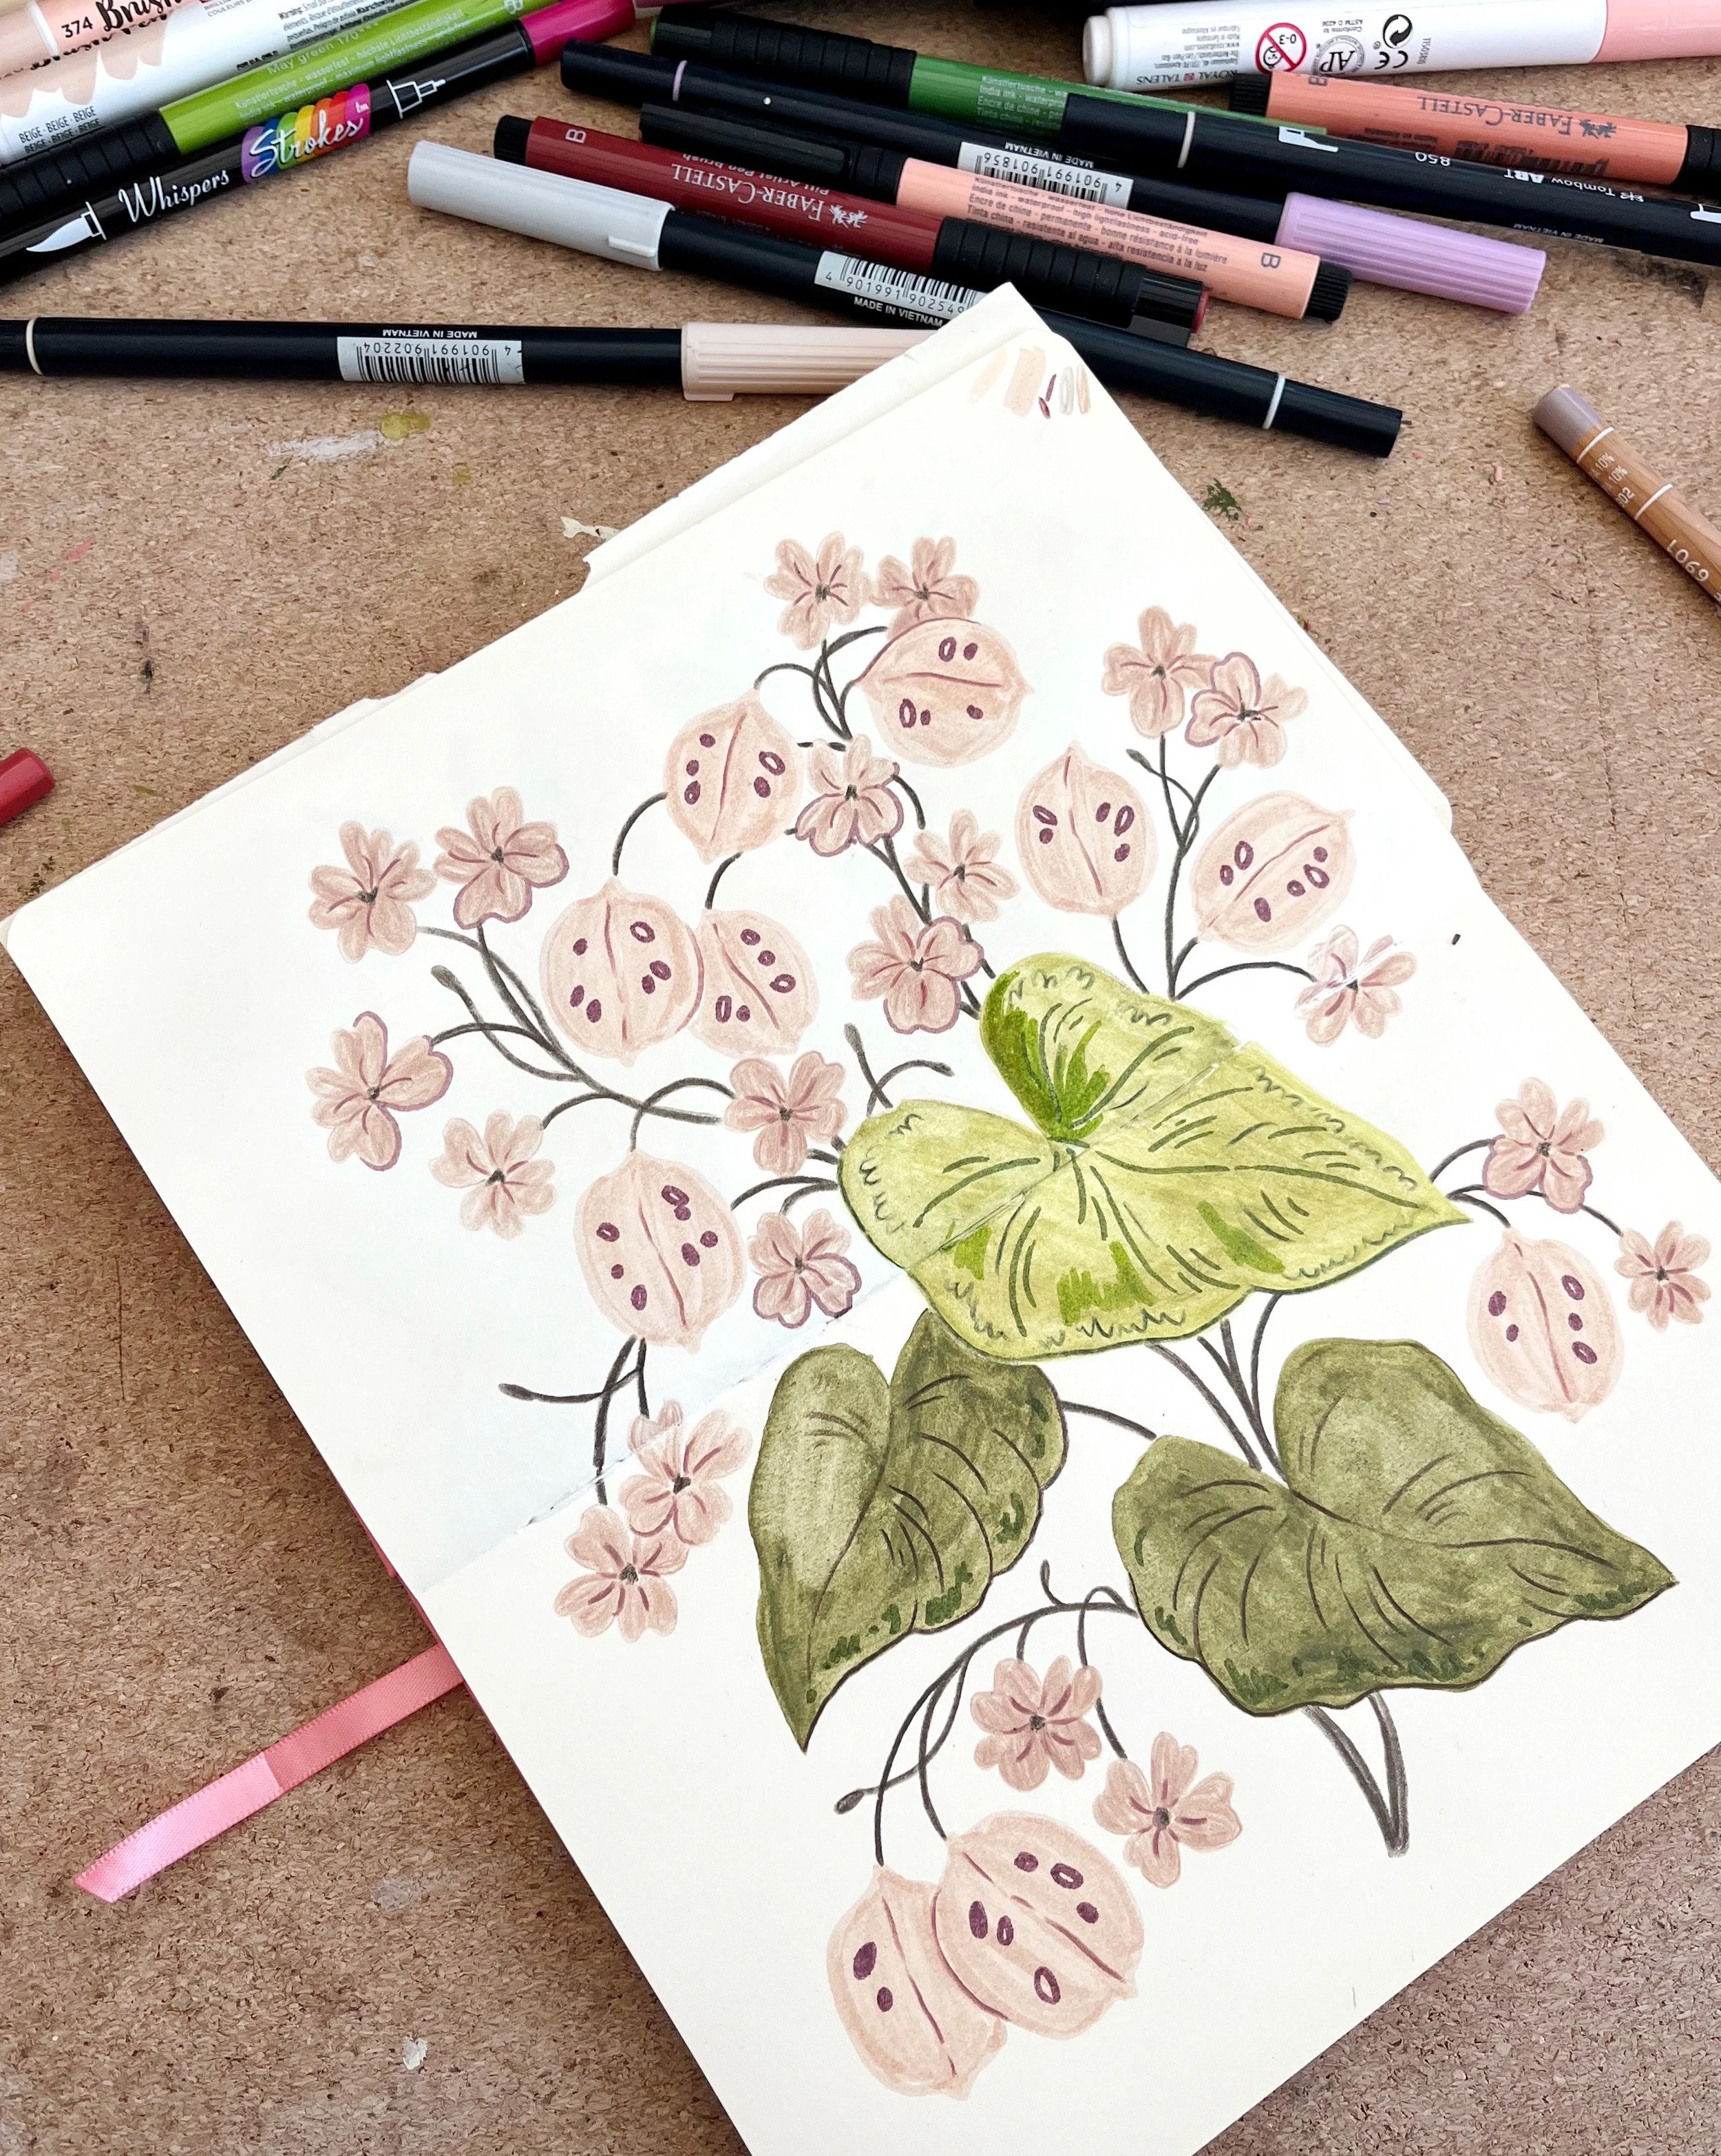
Learn while drawing
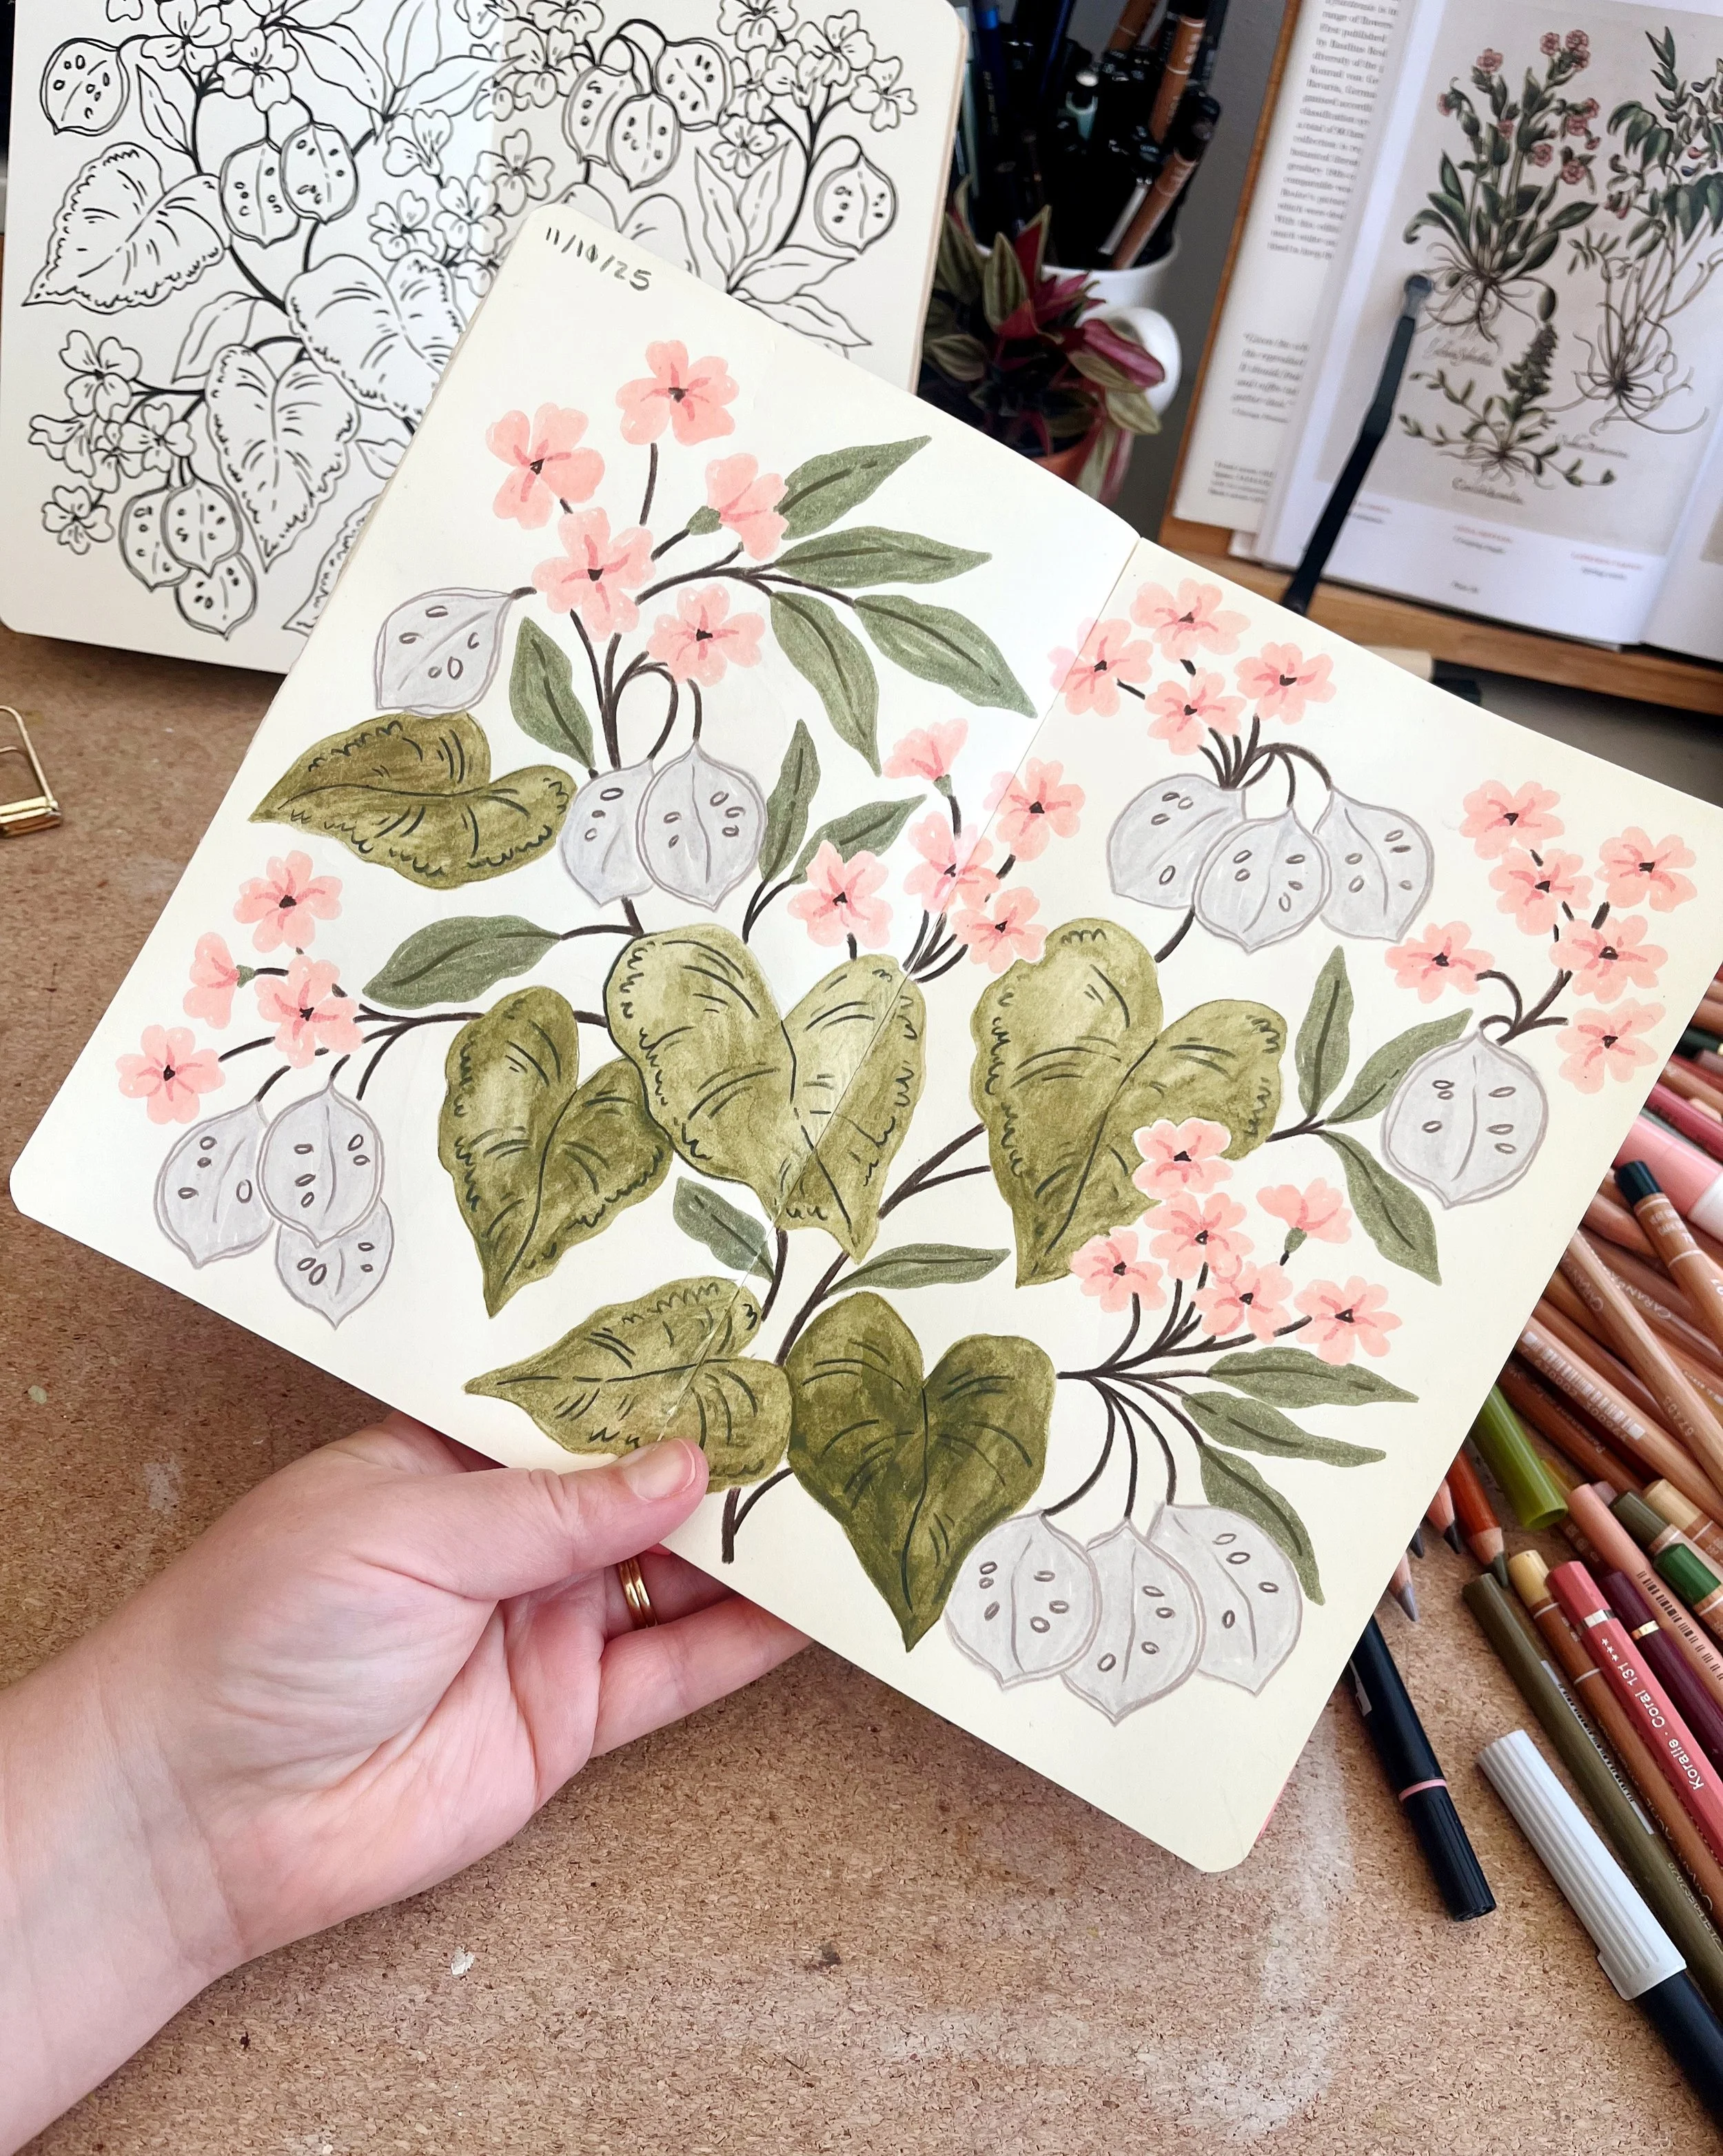
Pick a subject to research. Sketch, draw and take notes as you learn. I love to learn about plants and flowers as I draw from my nature reference books - something I’ve been doing for my The Language of Flowers series.
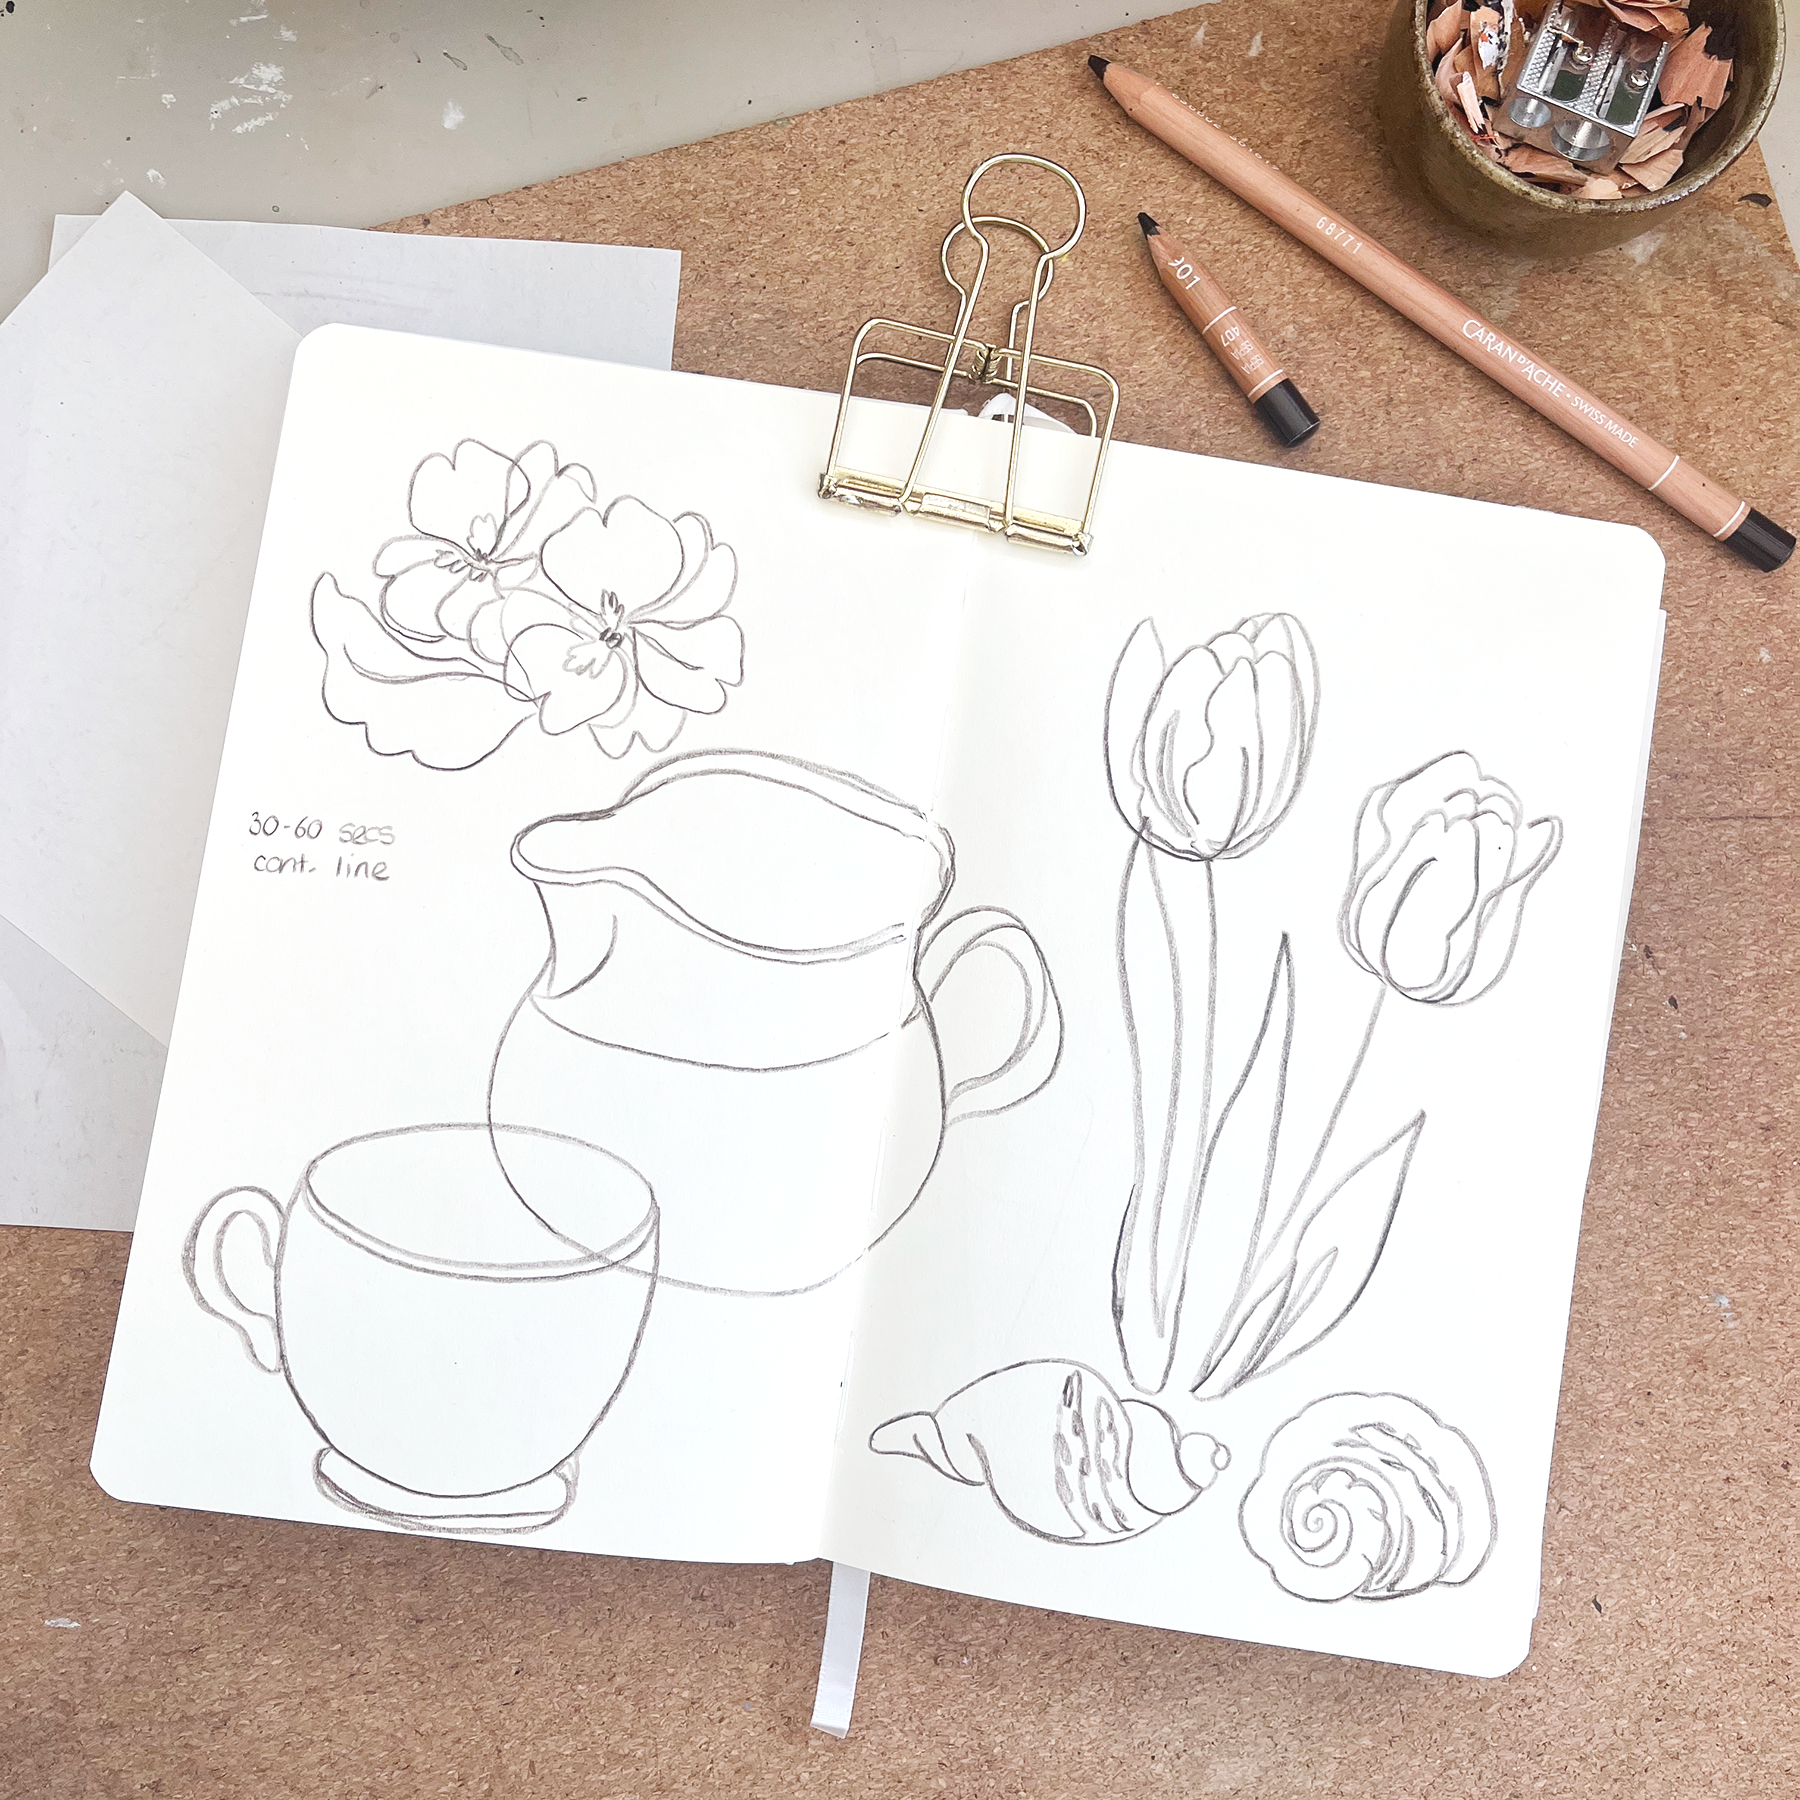

If I have half an hour or so to draw in my sketchbook, I’ll often combine several of these prompts to fill up a few pages. For example, I might set up a still life on my desk (I love using plants, flowers in vases, small cups or jugs, and sea shells) and then follow these prompts:
5x 30 second contour drawings
3x 1 minute drawing without looking at the paper
3x 1 minute continuous line
2x 5 minute drawing the whole scene
10 minutes drawing the details/patterns


Drawing from life
This has got to be one of my favourite ways to fill a sketchbook. If you regularly read my posts you’ll know that I love to spend a day at a garden, filling multiple pages with sketches of the florals, plants and scenery around me. I’ve been trying to get better at taking a sketchbook with me to other places too, and draw what I see around me - but this is something I definitely need to get better at (I always struggle to draw when I’m with other people - I’m much better at it when I’m alone!).
I always prefer the drawings I create form life. They’re more free, they don’t feel forced, and I even like the little imperfections - the little ink spatters from a quick rain shower, or the dirt on my sketchbook cover from placing it on the ground.
I know drawing from life can be daunting. The idea of other people watching you draw, or even saying something about your work, can be pretty terrifying. I have to say so far I’ve been very lucky, I occasionally get some lingering stares but I haven’t heard anyone say anything negative, and I haven’t been bothered by too many people at all. The few people that have spoken to me have generally been complimentary and I’ve had some lovely interactions.
If you are nervous of drawing in public, I’d suggest starting small. Take a small sketchbook, with just a few basic supplies so you don’t have to spread out too much. Find a bench (preferably one where no one can stand behind you) and try to just start. For me, once I get in to a drawing I feel much more relaxed and I forget about the people around me.
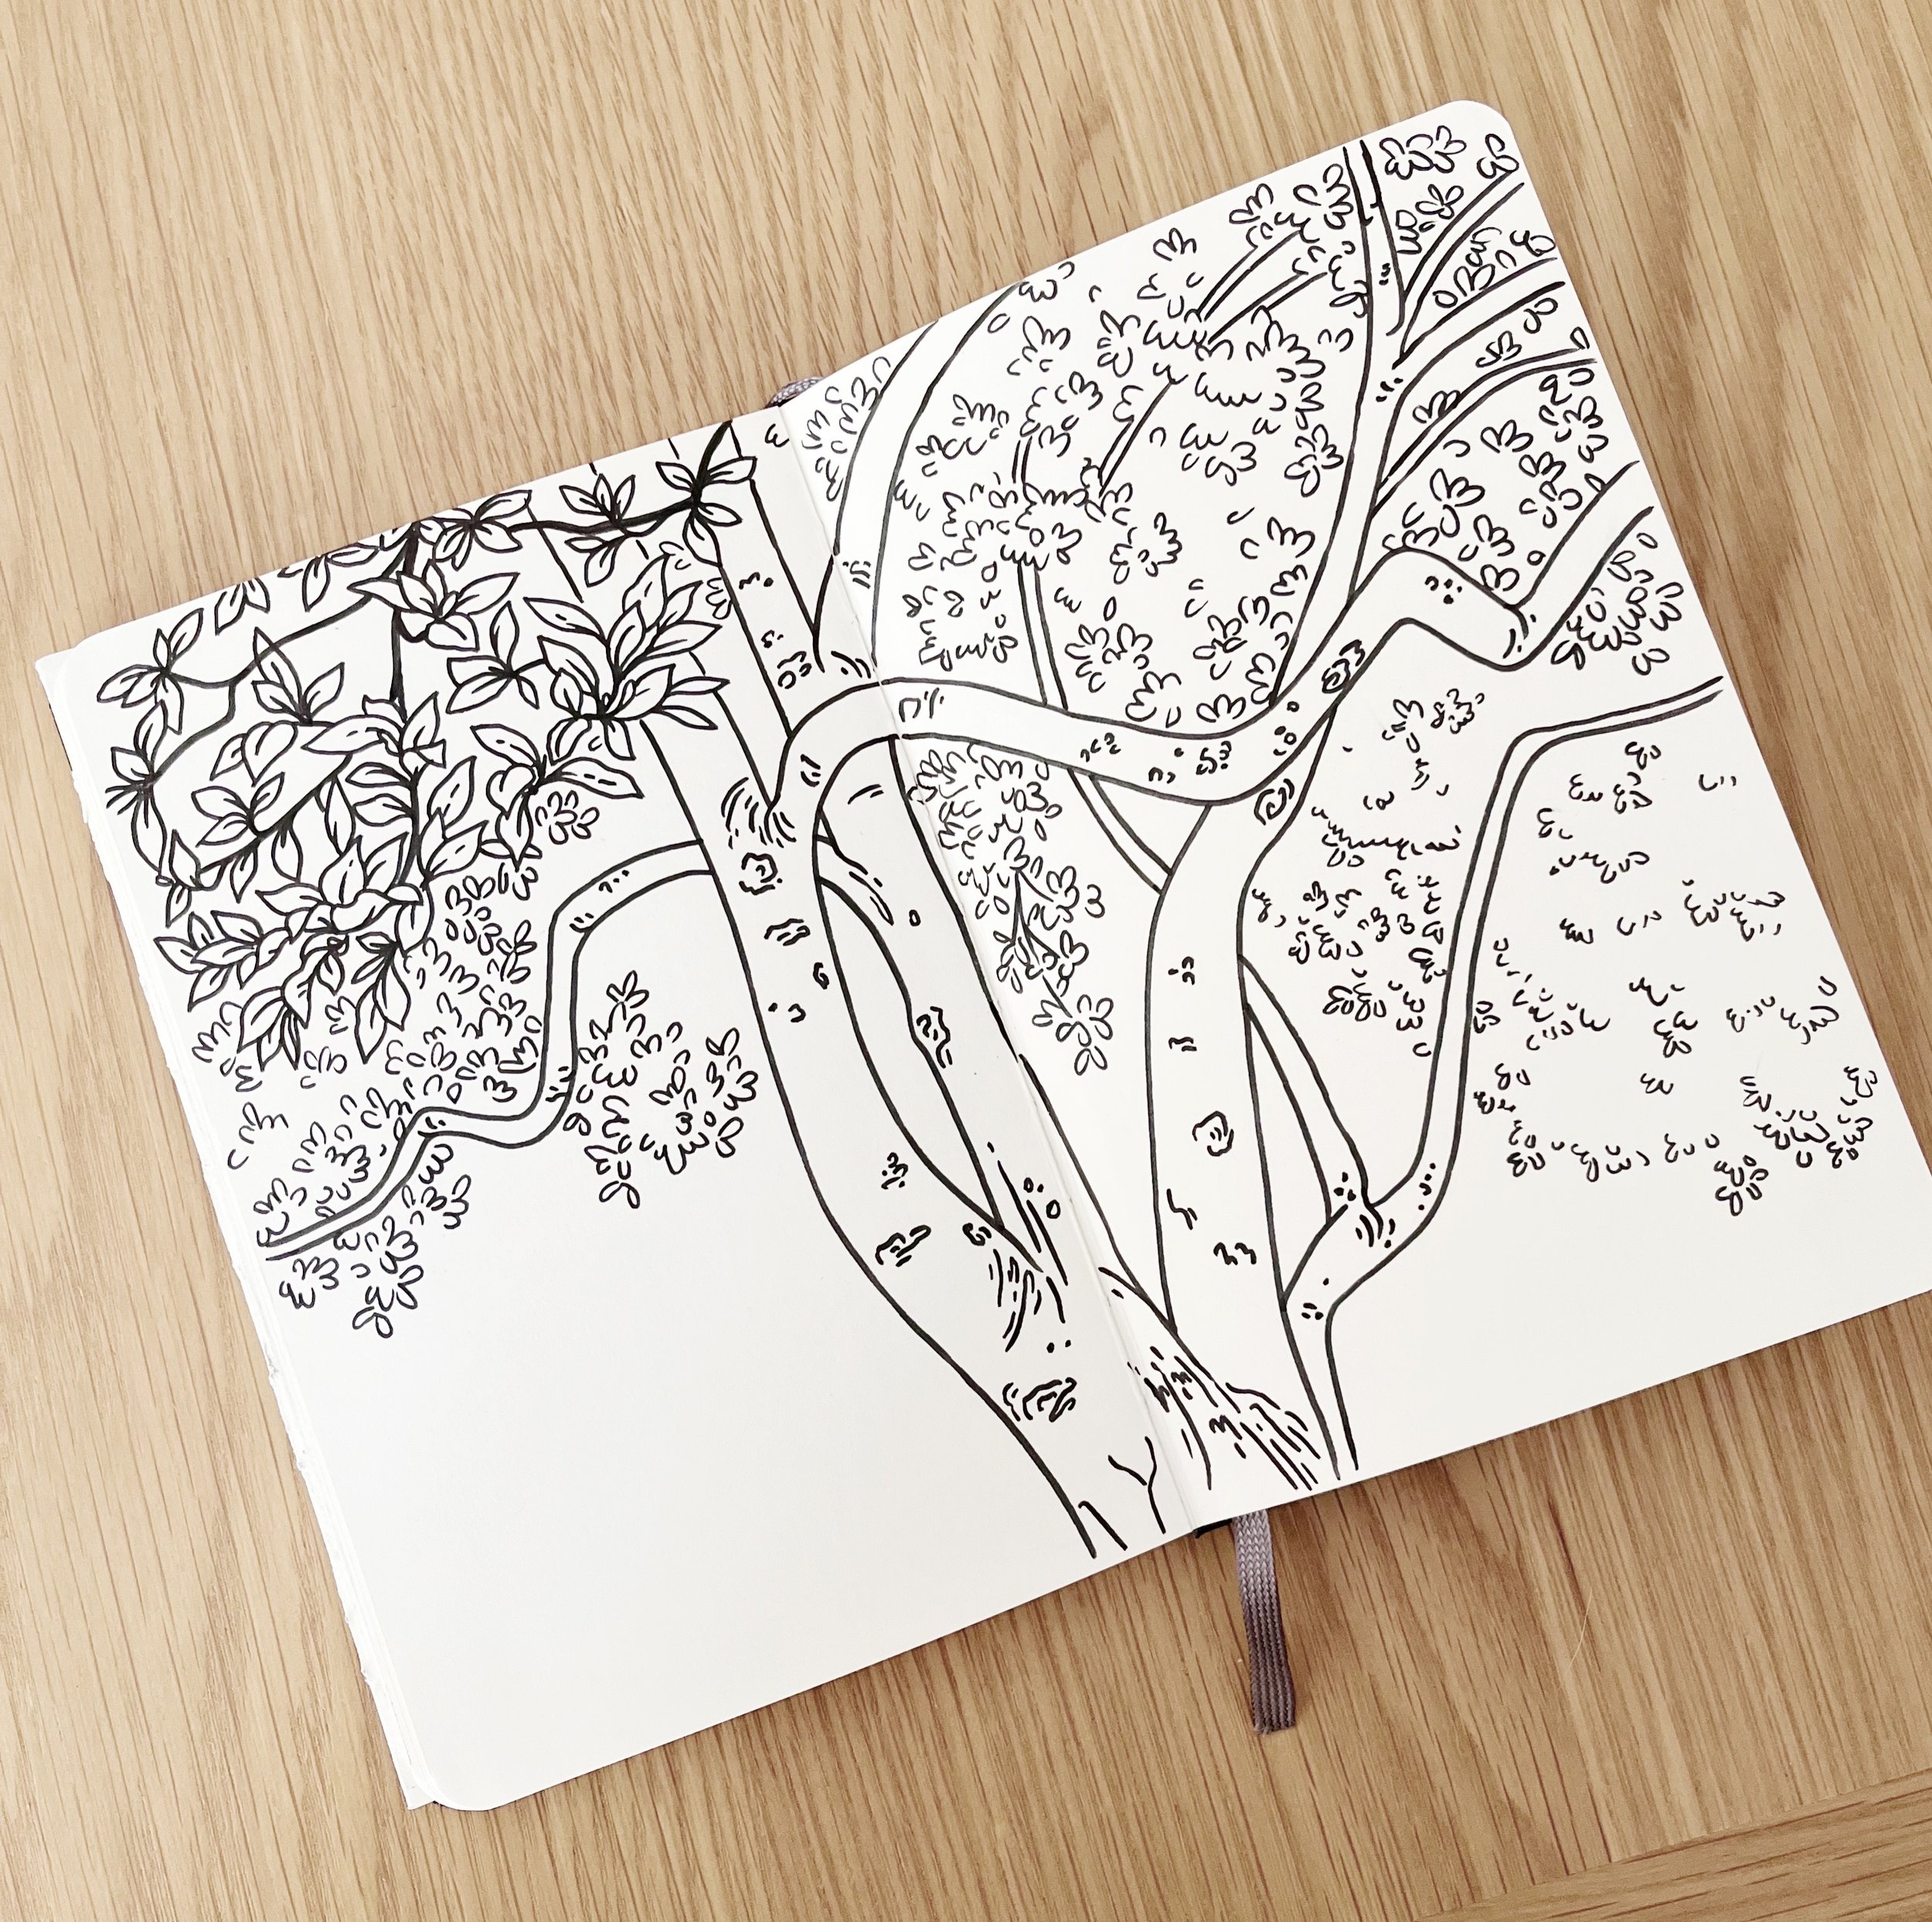
Repeat, Repeat, Repeat
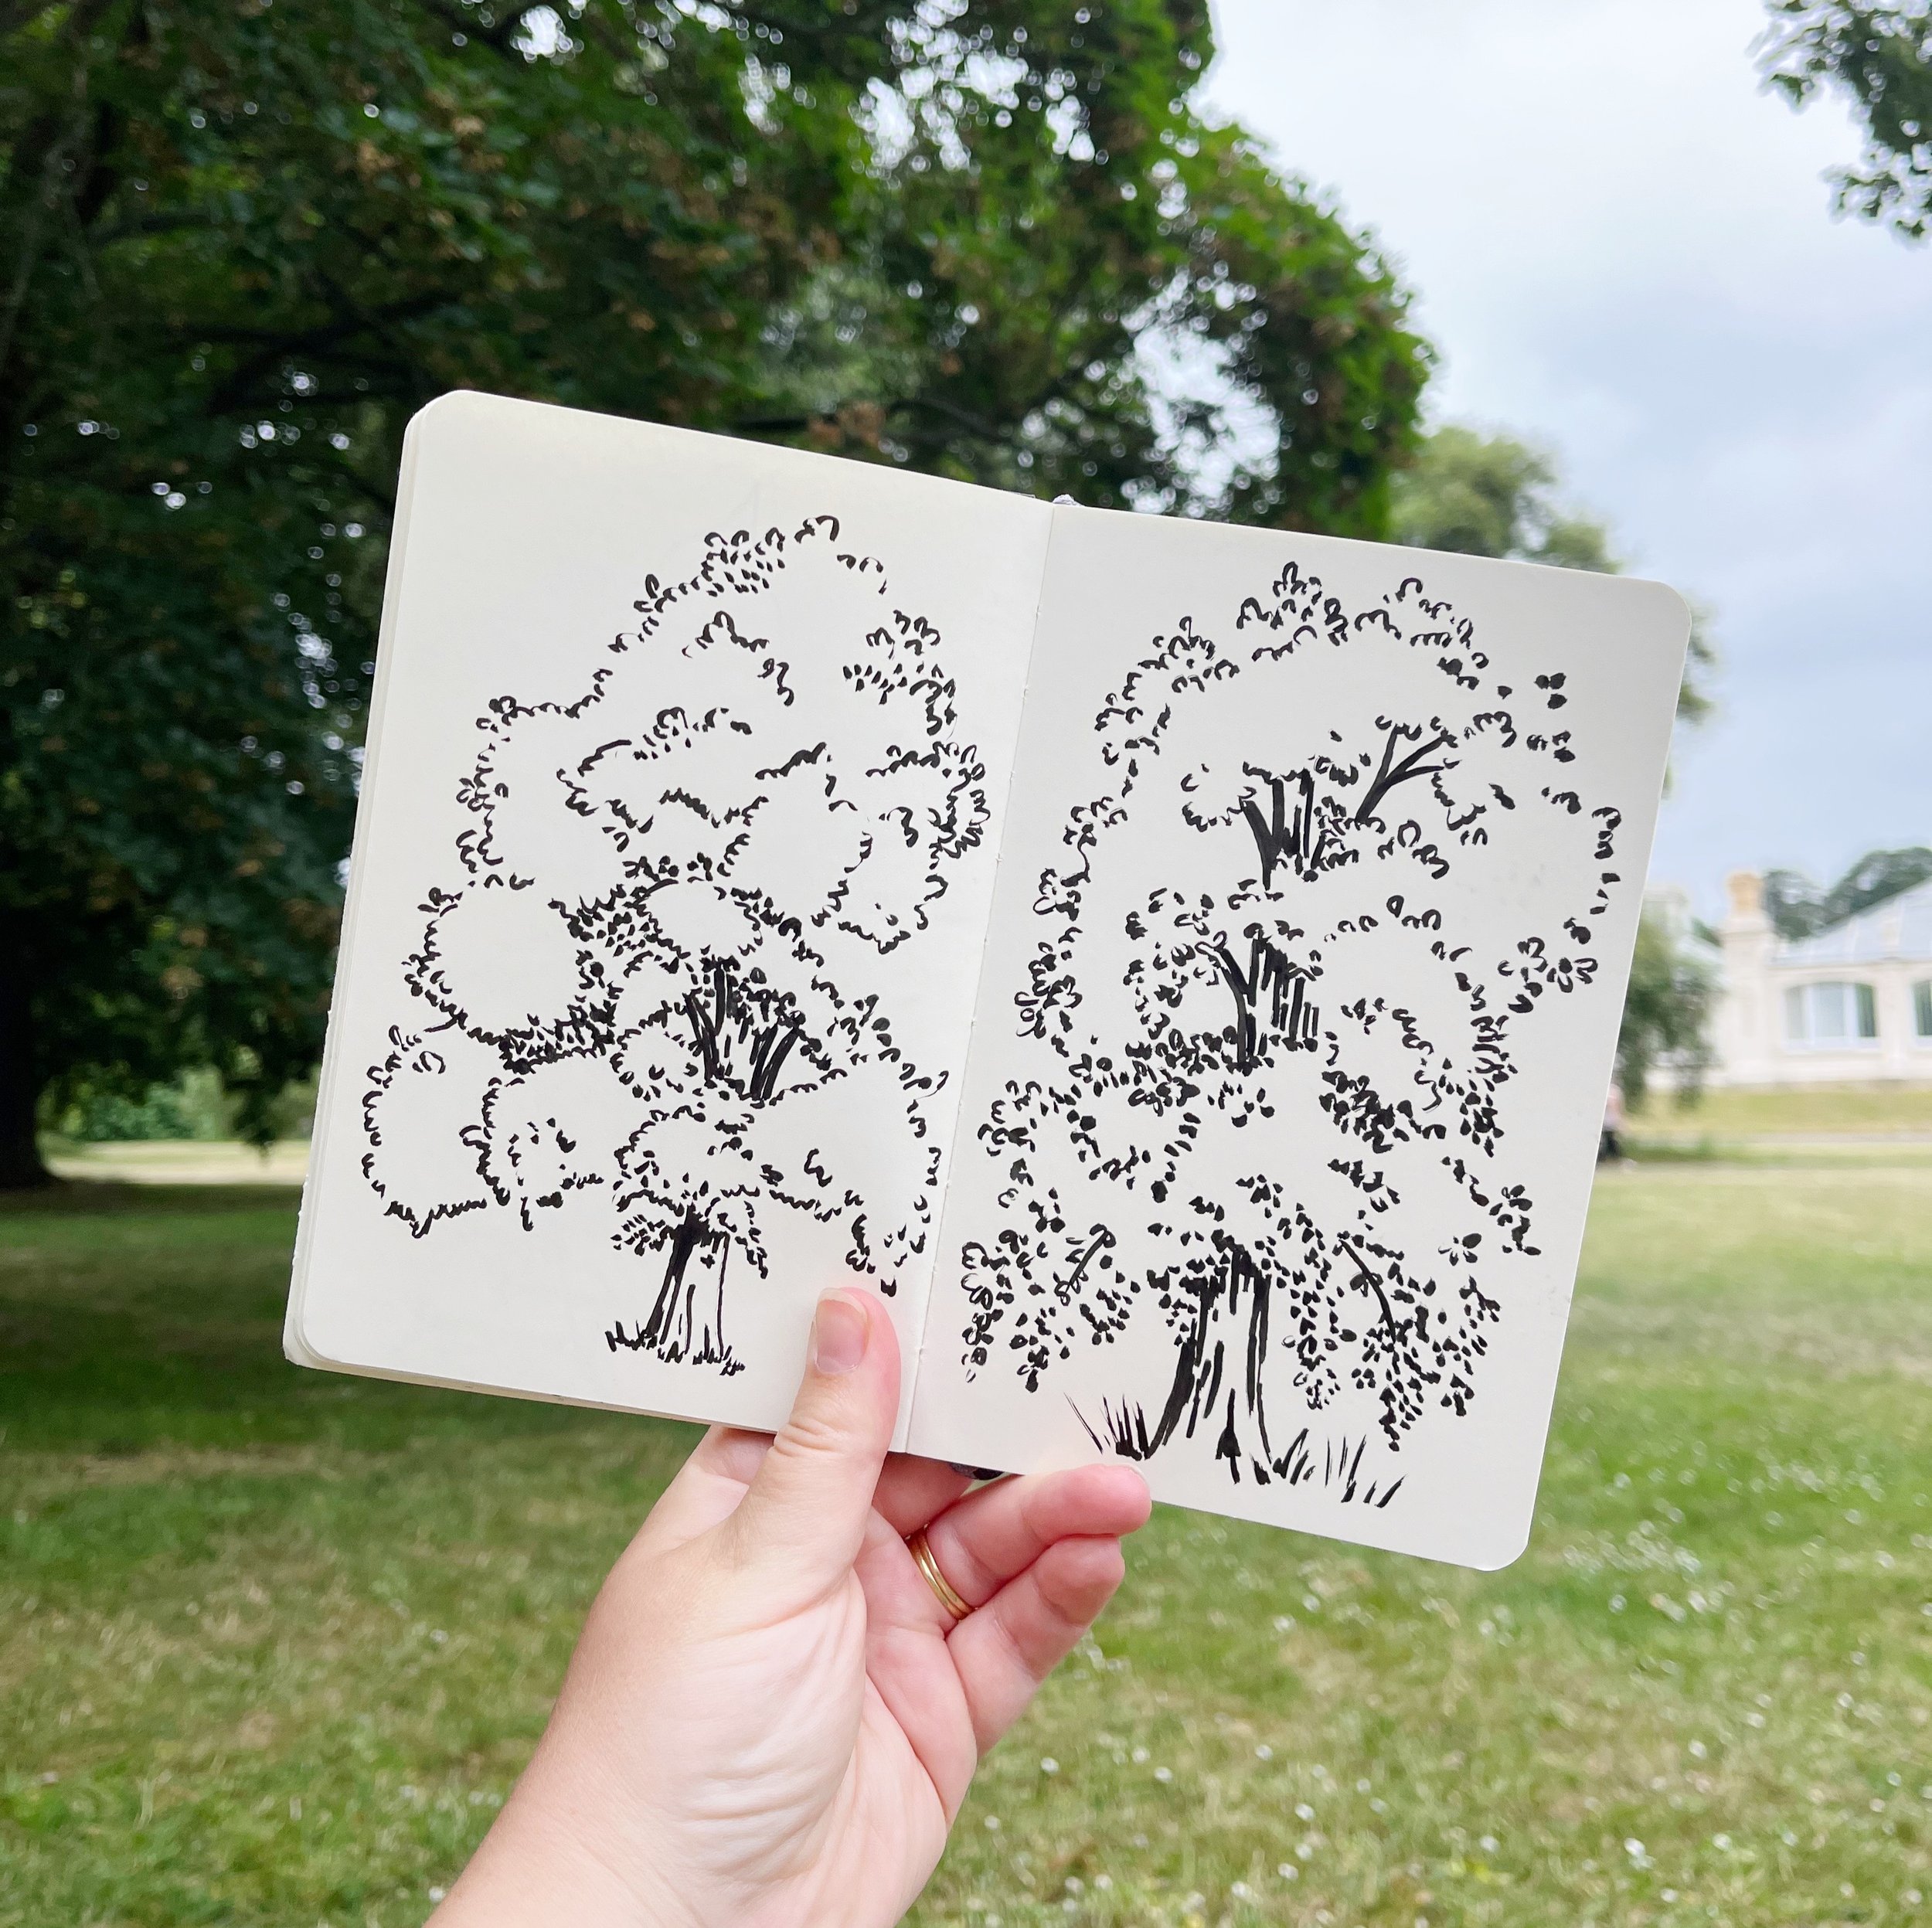
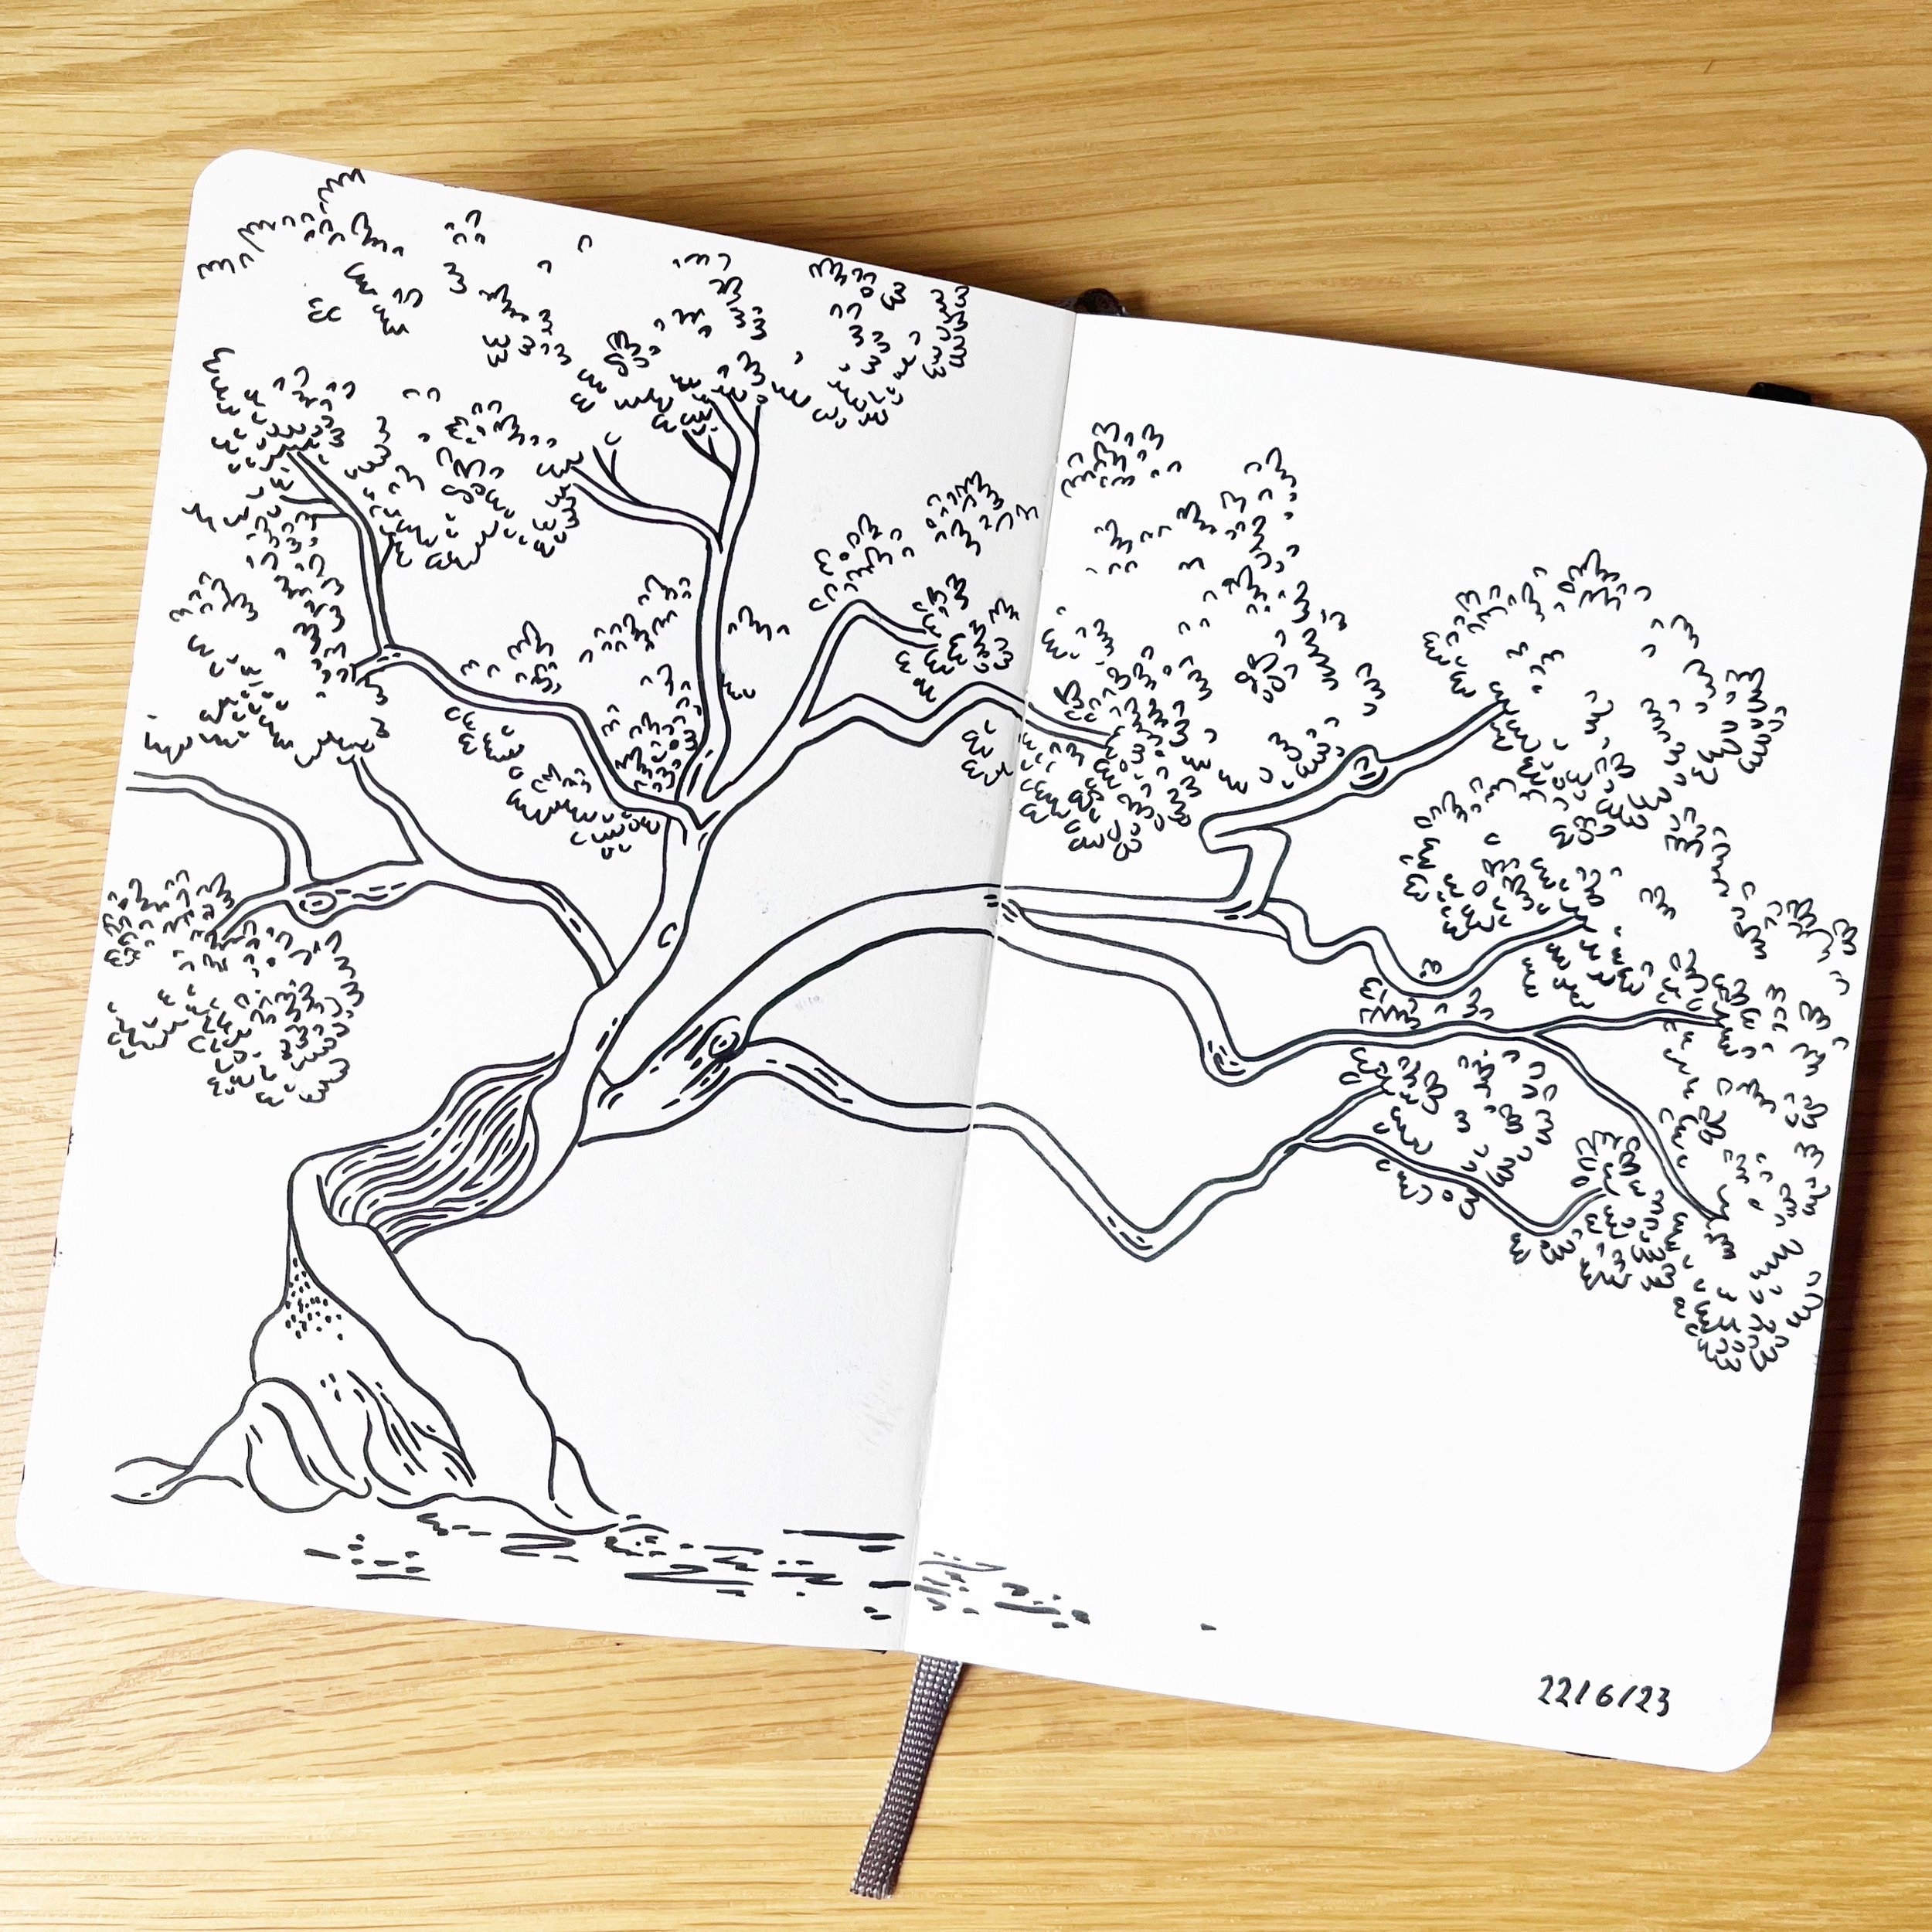
I realised recently that so often I’ll have an idea for something or a theme to draw, I’ll draw it once and then move on. But to really learn and develop my style, I need to keep going, keep drawing the same thing on repeat. Lately one of those things I’ve been focusing on has been trees. I’ve drawn trees from life at Kew Gardens, on my recent trip to Great Comp Garden, and from reference images.
Even just in these 3 examples above, I can see different parts like I do and don’t like, and elements that I want to keep going with and take forward in to new drawings. I love the markings on the branches in the first one, the shadows and depth in the second one, and the twisted trunk in the third. So my next step would be to create some more tree drawings, combining all of those elements together.
I’ve also been creating thumbnails with this idea in mind (those are in a different sketchbook which I’ll be sharing once its finished!). Rather than just drawing a scene once, I’m creating a series of thumbnails for it, moving the elements around, adding and removing elements, and reframing the whole scene each time. Then I’ll take a couple of those thumbnails and develop them further in the sketchbook. Eventually hoping to create some finished artworks from my favourite version.
Try out different materials
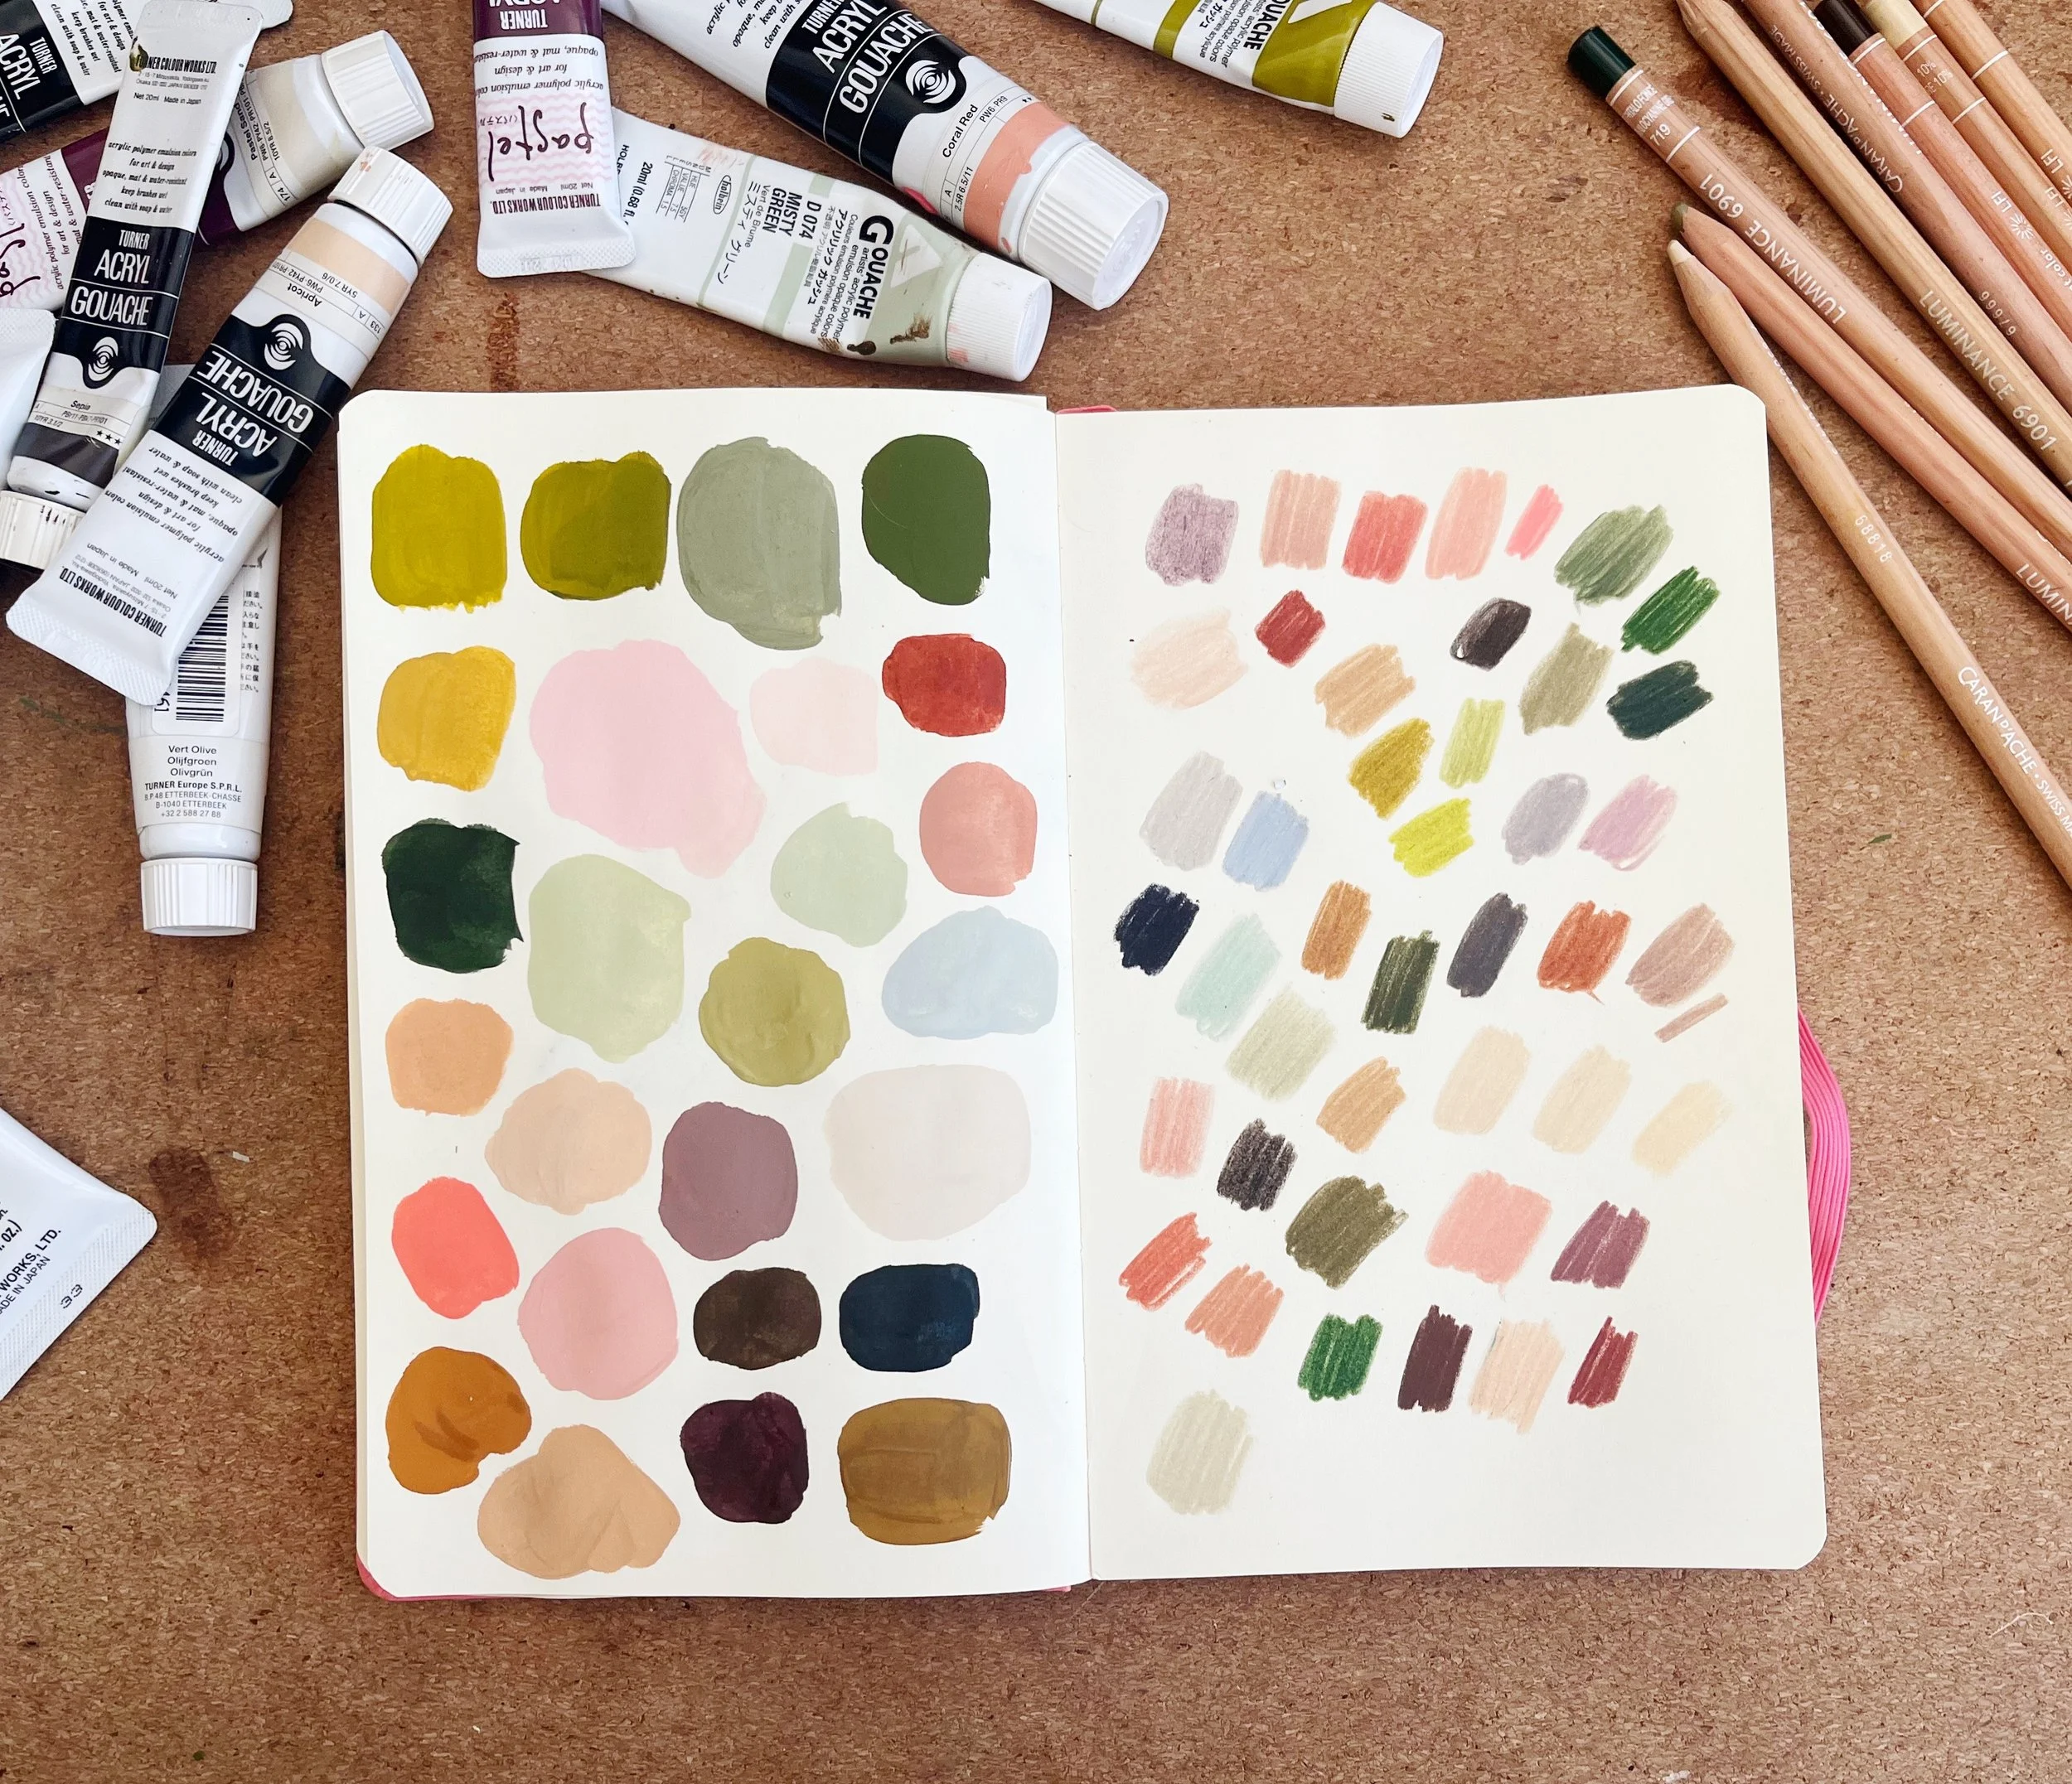
Mixing up materials is a great way to experiment in your sketchbook. Using a mix of pens, pencils, inks and paints within one page often ends in some unexpected results and sparks new ideas. Various materials layer up in different ways, and colours often turn out different than you expect (pen lids rarely match the colour of the ink!) so there’s plenty of opportunity to play. Filling up a page with material swatches is one of my favourite low-energy ways to fill a sketchbook page, and serves as a useful tool to refer back to for later drawings.
I often use minimal materials in my sketchbook, as I’m focusing on getting down the shapes, lines and ideas. This means a lot of my pages are drawn with just one materials at a time, but I still try to mix it up between the pages to try different things and get varying marks - at the moment I’m enjoying a Fudenosuke brush pen*, a Luminance Sepia coloured pencil*, and Jacques Herbin drawing ink.
(*Affiliate Links)

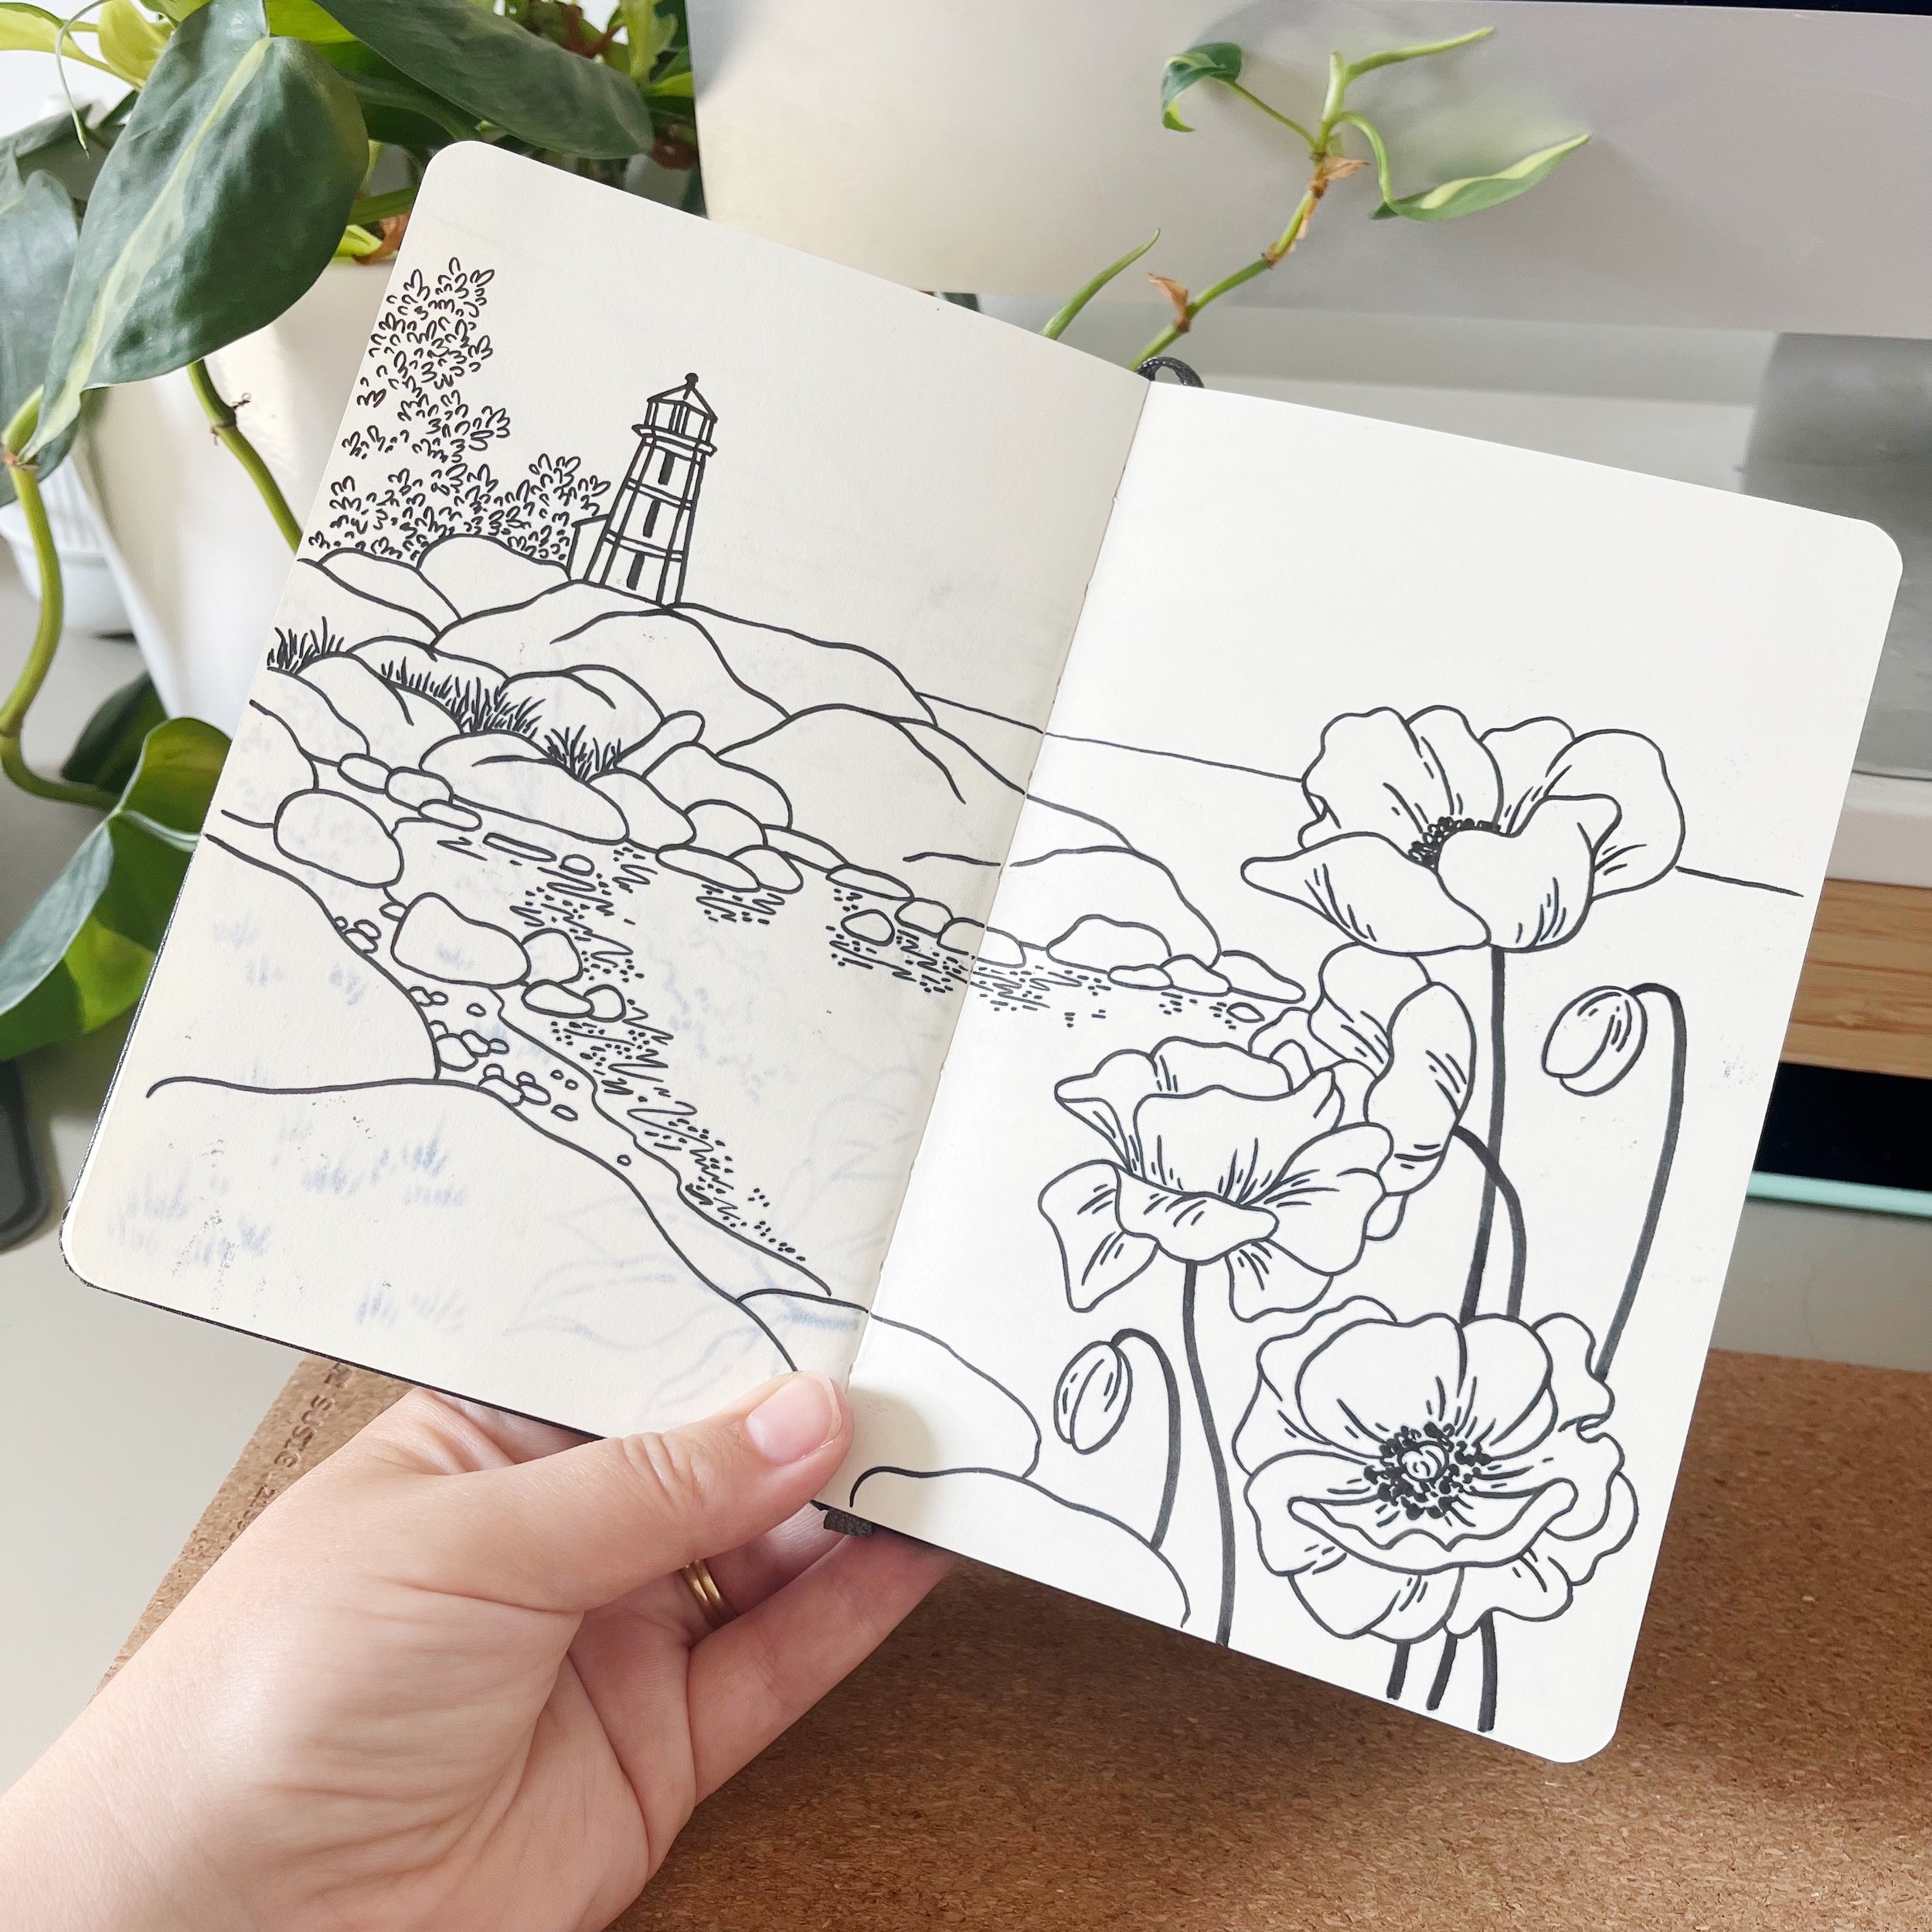

Using Reference Images
While I love drawing from life, I also love to draw on the sofa in the evenings - so for that I use reference images. I take my own images all the time (I’m talking 30k+ photos in my iCloud!) but sometimes I have something specific in mind, or just want to be inspired but something different. So I use Royalty Free image sites such as Unsplash and Pexels to find reference images. The British Museum is also a great resource - I used their online collection for the sketchbook page above of ancient vase studies.
There’s a few different ways I love to use reference images for my sketchbooks:
Start off on the Explore page. Rather than searching for something specific, just pick something from the first page that comes up. No overthinking, no procrastinating looking for that “perfect” image. Just drawing.
Combine multiple reference images. Make an image your own by combining elements from different references. For the first example above, I found the coastal image initially, but then reframed it slightly and added the poppies in the foreground from a separate reference.
Use the reference loosely. Don’t feel like you need to copy the reference exactly, just take it as some initial inspiration. I like to remove some elements, add in others, rearrange things and reframe everything. Take an image of scenery, but adding a window frame around it so it becomes a “view through a window” is a great place to start. This is where all those thumbnails come in to it! Sketch out lots of different ideas from one reference image, changing things as you go. After a few thumbnails, you’ll have an idea for a totally unique image - rather than just copying the reference that you initially found.
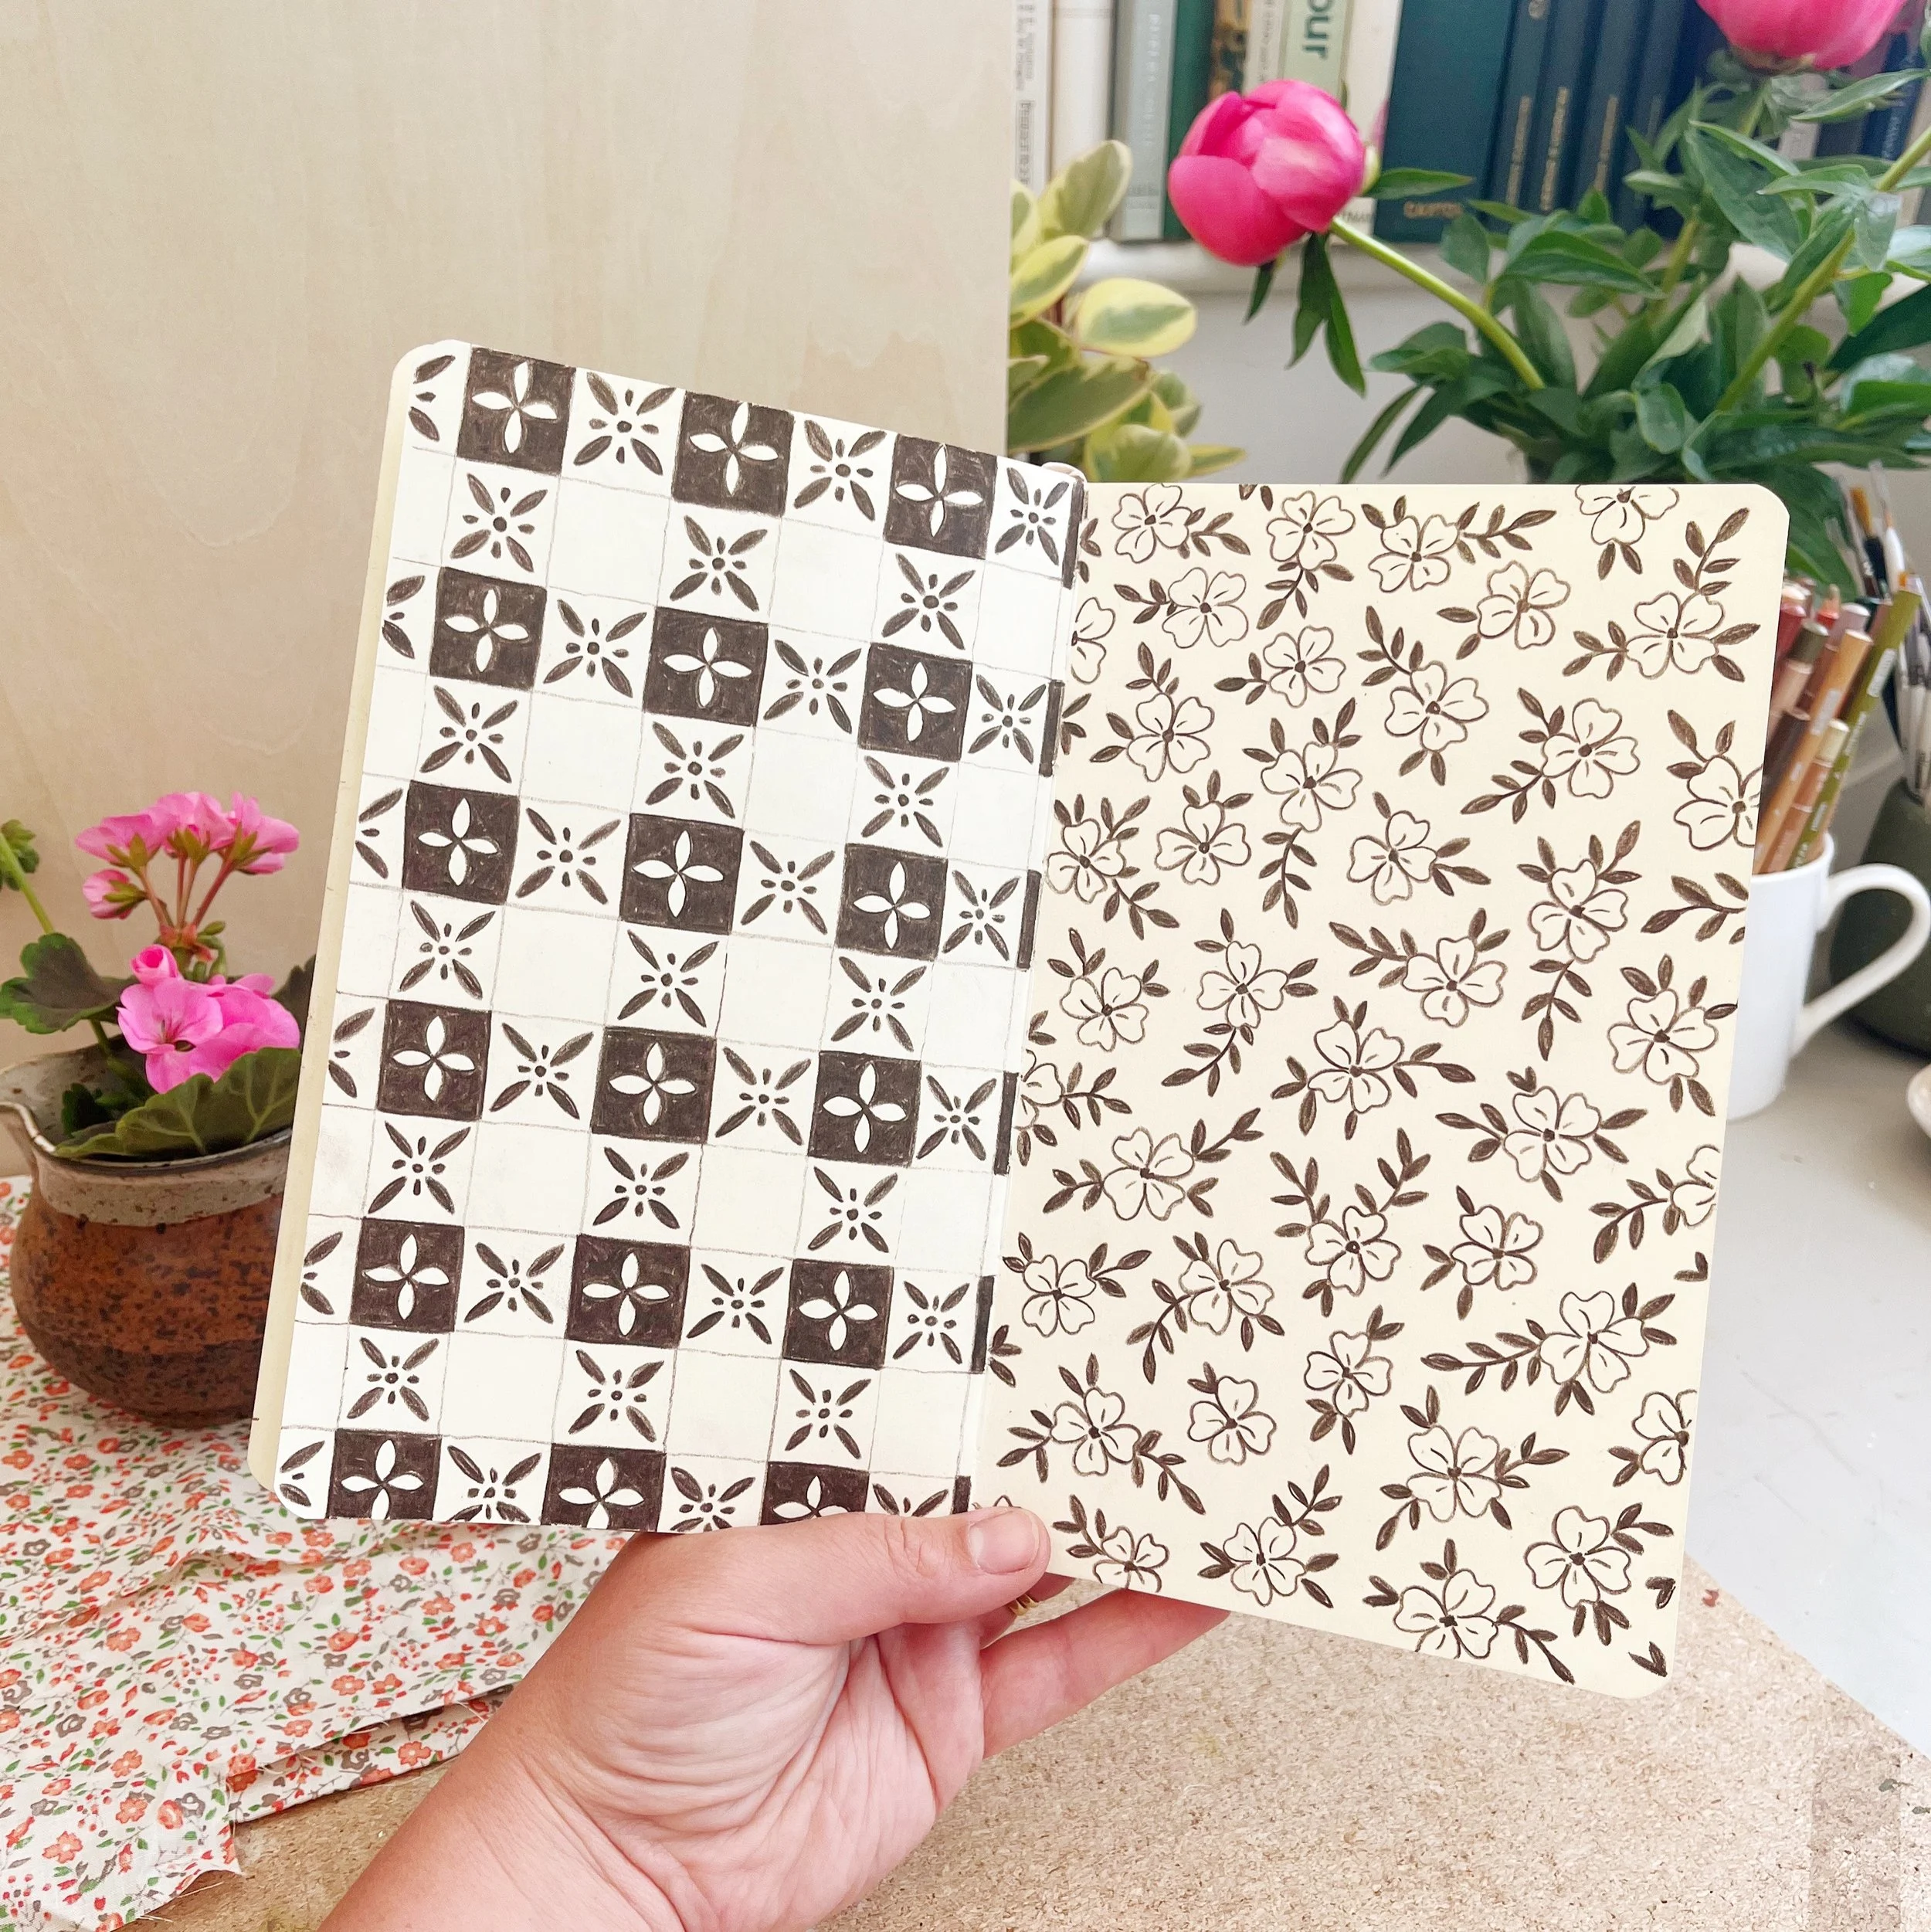

Fill a page with patterns
If I’m low on inspiration, I love to fill a spread in my sketchbook with patterns and marks. Sometimes it’s just moving my hand on the page and seeing what marks I make, other days I take inspiration from my surroundings or draw a repeat pattern from a reference image. These end up being some of my favourite sketchbook pages and they always feel so fun to create.
I’ll be going in to more depth on some of these ideas in future blog posts. But I hope for now this inspires you to start filling up your sketchbook!
I’d love to hear your ideas for filling up a sketchbook too! Let me know where you find your inspiration.
Head over to my Instagram account for a full flick through of this whole sketchbook!
Enjoyed this post?
Sign up to my Substack to get these posts sent directly to your inbox.